One of the items I really liked were these vases wrapped in burlap on the right filled with grass. I couldn't find them in the catalog on sale but I am sure they'd be some crazy price!

Here is how to make your own burlap wrapped vase.
You will need:
- vases - I had mine from the dollar store. They are the same one's I used to make this craft at Christmas, I just washed them.
Here is a link to that craft.
http://dragonfliesandthistles.blogspot.com/2013/12/christmas-table-and-craft.html
- burlap - I got mine at Hobby Lobby and used my 40% off coupon and got it for less than $5.00
- Scissors - for cutting the burlap and ribbon
- craft glue - or any kind of glue that is washable and dries clear
- Ribbon or twine. I bought ribbon at the dollar store but you could use kitchen twine.
Step 1: Cutting your burlap to fit your vase. Wrap the burlap around the vase leaving about a 1/2 inch overlap and cut.
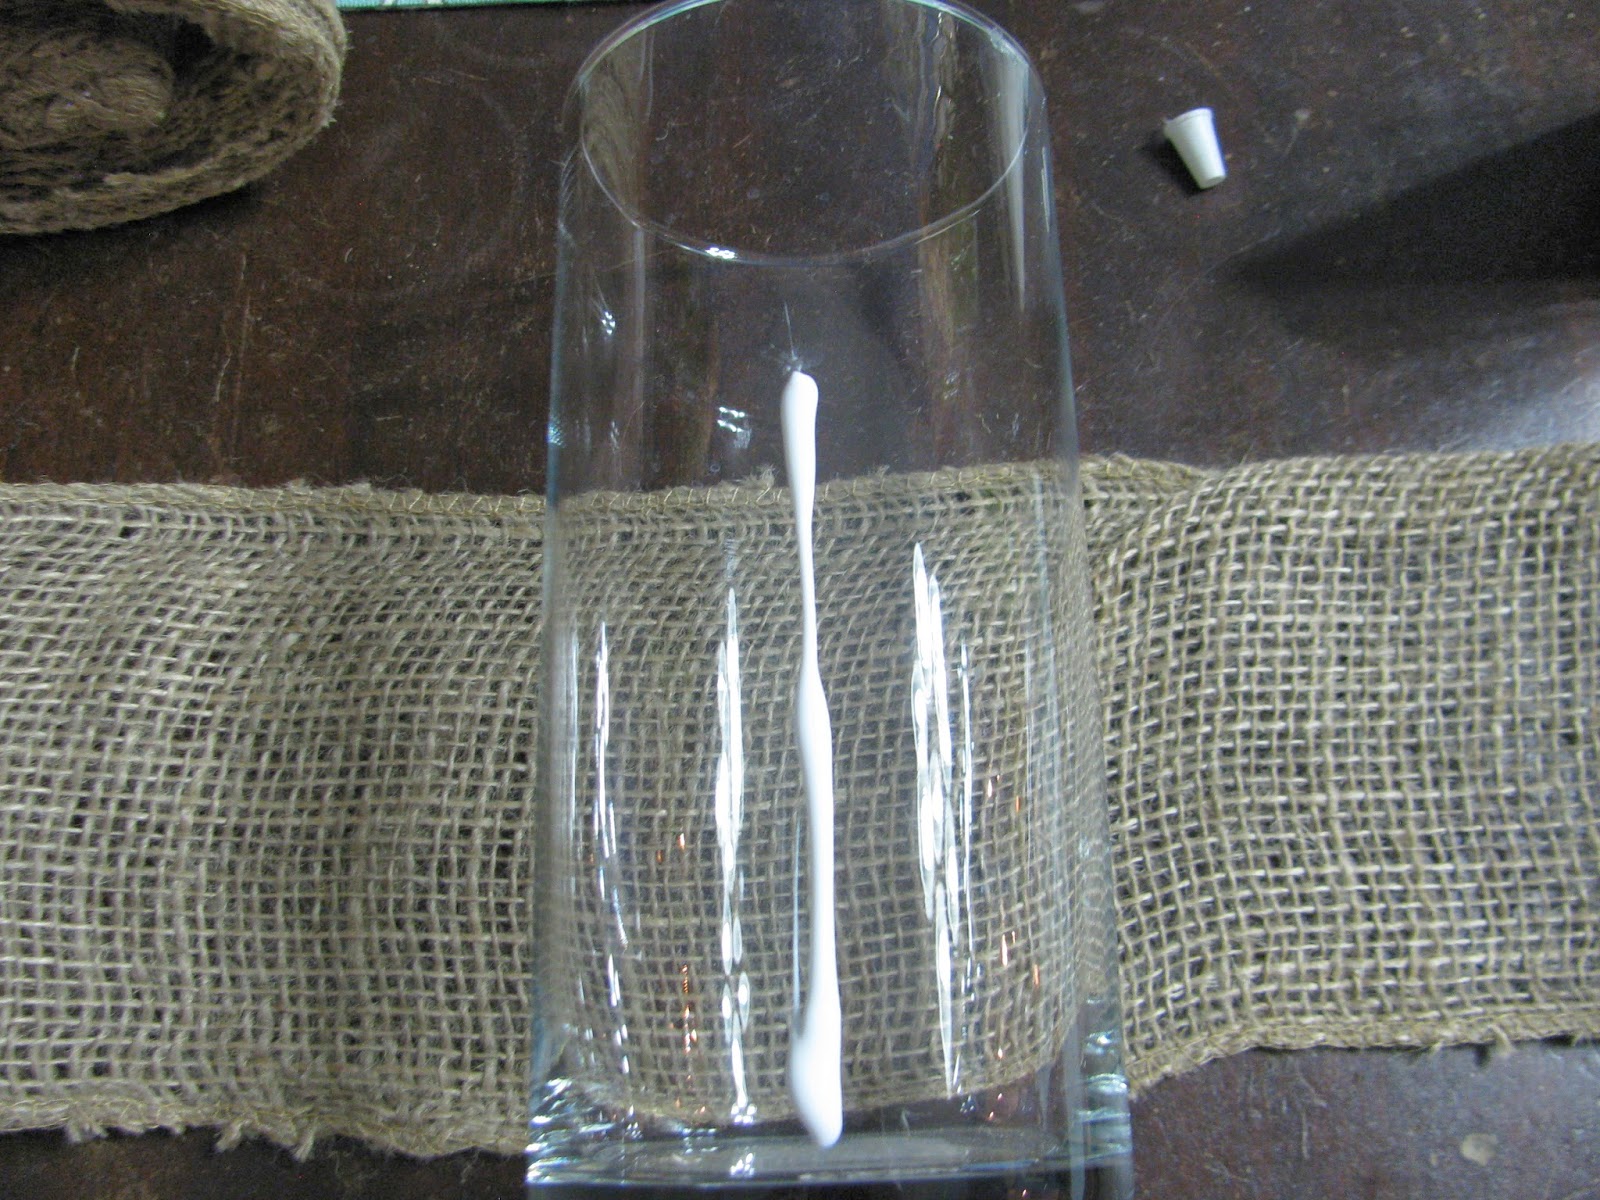
Step 2: Glue your cut burlap to your vase. Run a line of glue down the vase and adhere one end of your burlap to it. Run another line of glue on that material, right over the top of the original line of glue, then wrap the material around the vase - PULL IT TIGHT and adhere it to the additional glue line.
Step 3: Cut your twine or ribbon to fit the vase. Wrap the ribbon or twine around the vase tie a bow or a simple knot and cut the edges of the ribbon or twine.
DONE! Very easy.
Here are the steps in pictures.
Your tools:


I lined my burlap up with the bottom of the vase but you could put yours in the middle

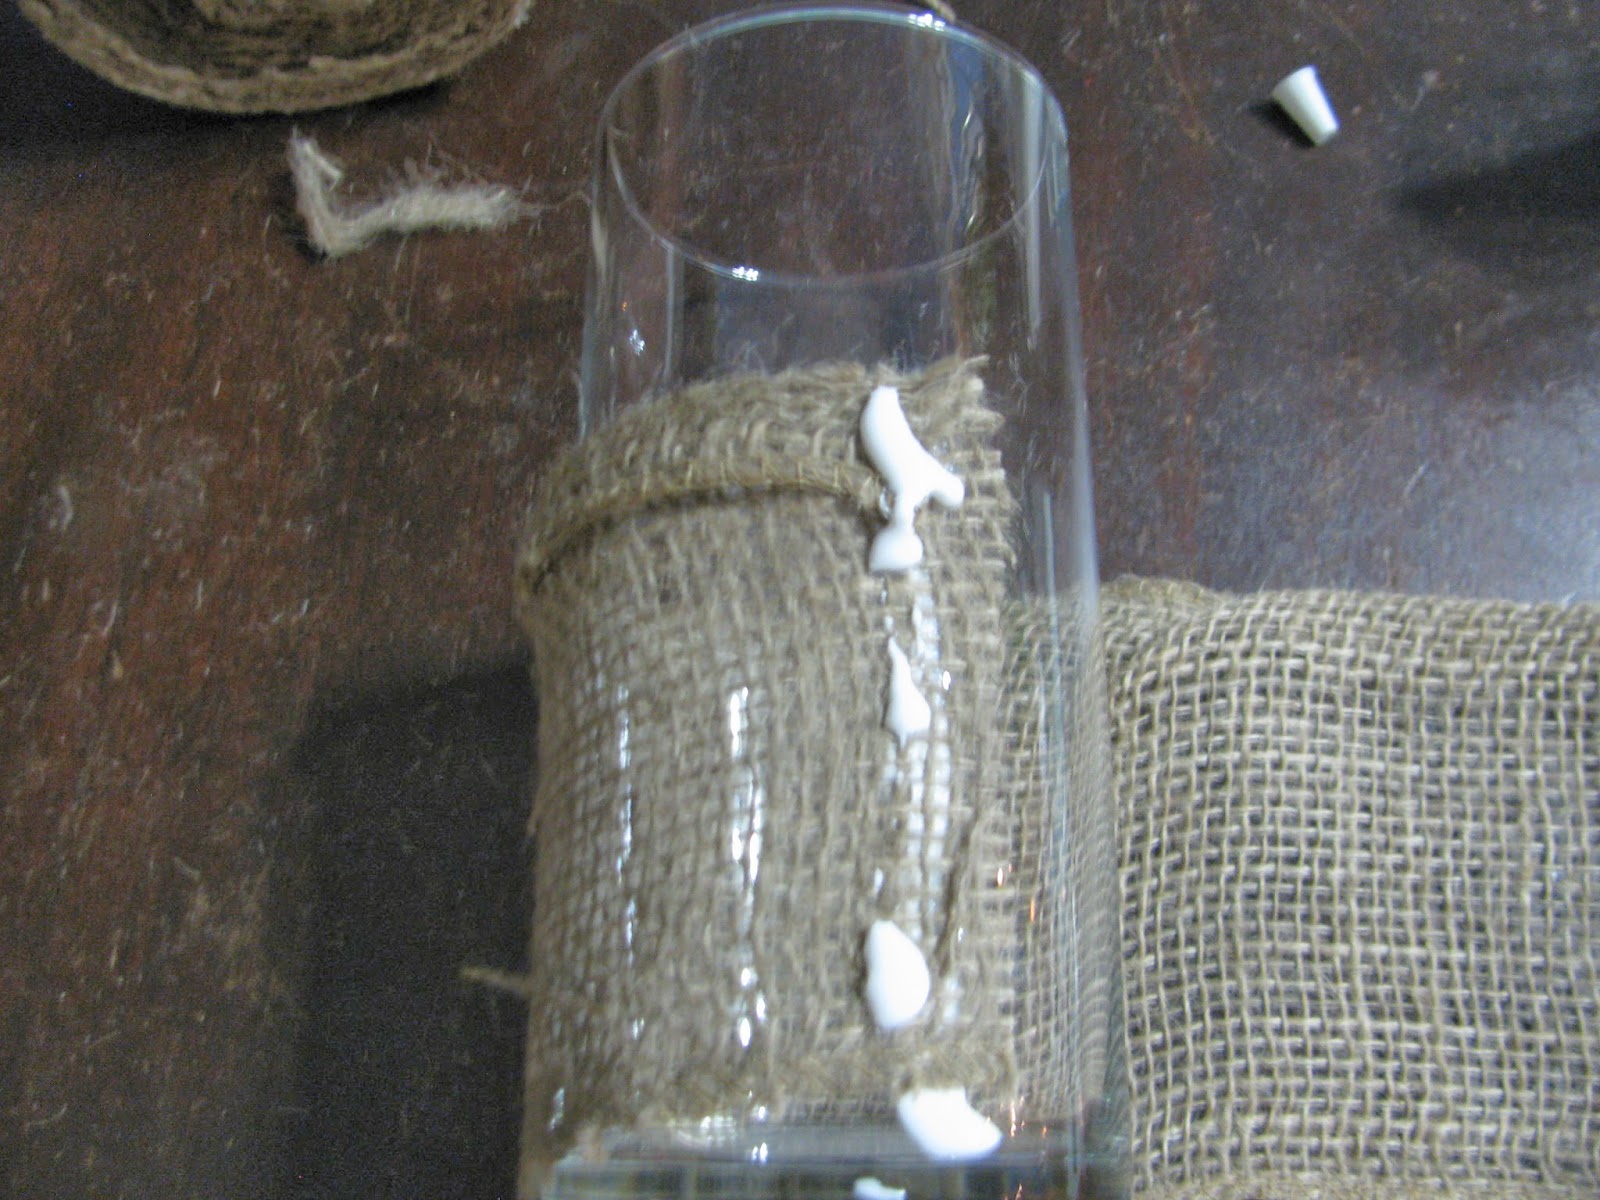
Wrap the material around the vase and adhere the other end to the glue line.

The almost finished products!
I did two with the top folded down about a 1/4 inch like the catalog picture and two without.


Finally wrap the ribbon or twine around the middle. I just made simple knots. You could make a bow.


I can't decide which one I like more!
Options - I really like this because there are so many options.
1. You could use fabric instead of burlap.
2. You could use different size vases
3. You could fill them with anything! Grass, flowers, rocks, candles, moss, twigs, eggs, peeps, jelly beans... use your imagination!
I can't wait to set my spring/Easter table and use these.
Again - original from PB - see it there on the right filled with grass?

And my knock-off:
So remember if you see something in a catalog or online and it is crazy expensive start thinking how you could just make it yourself.
This weekend I hope to start another knock off project. I fell in love with some mirrors in a Ballard Design catalog. They are $150 each - crazy. I hope to make 4 of them for around $25.00!!! I don't know how long it will take me, the hubby is going to help as there are power tools involved!
I also hope to decorate my house for Easter. Then there is an RV show in Denver that I am going to.
Have a great weekend. If you have any questions about this project, or any project just shoot me a line at - dragonfliesandthistles@gmail.com or you can comment here on the blog. I read and respond to every one.
You can also 'like' my facebook page -
https://www.facebook.com/pages/Dragonflies-and-Thistles/491393717621010
I'm also on Pintrest under Victoria Dennison
http://www.pinterest.com/vicdenniso/
Have a safe and Happy weekend.
Victoria
Those are so cute Victoria and I love that you made them for next to nothing! I've seen a bunch of cute printed burlap patterns at Joann's that would be perfect for making a few of those. Thanks for sharing on Best of the Nest!
ReplyDeleteWhat a perfect centerpiece for spring!
ReplyDeleteHave a lovely weekend.
Very cute knockoff -- perfect for spring! Thanks for joining :)
ReplyDelete