This will be my first week back to blogging twice a week. In September, I'll be sharing fall around my house, tips and food every Tuesday and Thursday. I hope you come back and visit!
This week I'm talking fall. I can't wait! I love the smell of the air during the fall, not to mention the jewel box colors that come out. Here in Colorado we don't usually get orange or red's but the mountains do blaze with bright yellow Aspen and Cottonwood tree's amongst the green of the pine. We already have signs of yellow in some area's, way ahead of schedule.
If you remember last year I shared some fall colors in Colorado here...
http://www.dragonfliesandthistles.blogspot.com/2013/10/fall-in-colorado.html
Now for my house, decorated for fall. First up I'd like to show you my mantel for 2014. But first let's refresh your memory, this is last years fall decorating-
http://www.dragonfliesandthistles.blogspot.com/2013/09/fall-decor-part-1.html
This year I wanted to do something different but still use what I have and not spend a whole bunch of money. I limited myself to $50.00. Here is what I got, all on sale I might add or purchased with coupons.
- A Yankee melter. I don't know what else to call it. They are new, electric and some have timers. I also bought 3 candle melts for the unit, all fall (pumpkin, fall leaves and farmers market). I had a coupon for $20.00 off my purchase. I think I got all of these for $25.00
- A print that says 'Autumn'. I got it from Kirkland's, $12.99
- 3 small ceramic foxes. I got them at Gordman's and I had a 20% off my entire purchase. Each fox was $6.99.
- A large boat shaped reed basket. Also from Kirkland's. The basket was $19.99 and I had a coupon I got online for 20% off.
So let's start with the mantel.
My dilemma is always, "how do I decorate it so it doesn't look like a bunch of things just lined up?"
My other problem is that my mantel is long and the fireplace is big and dark and the mantel itself is dark. Ok that is more than one problem but who's counting!
So first start with a clean and clear surface.

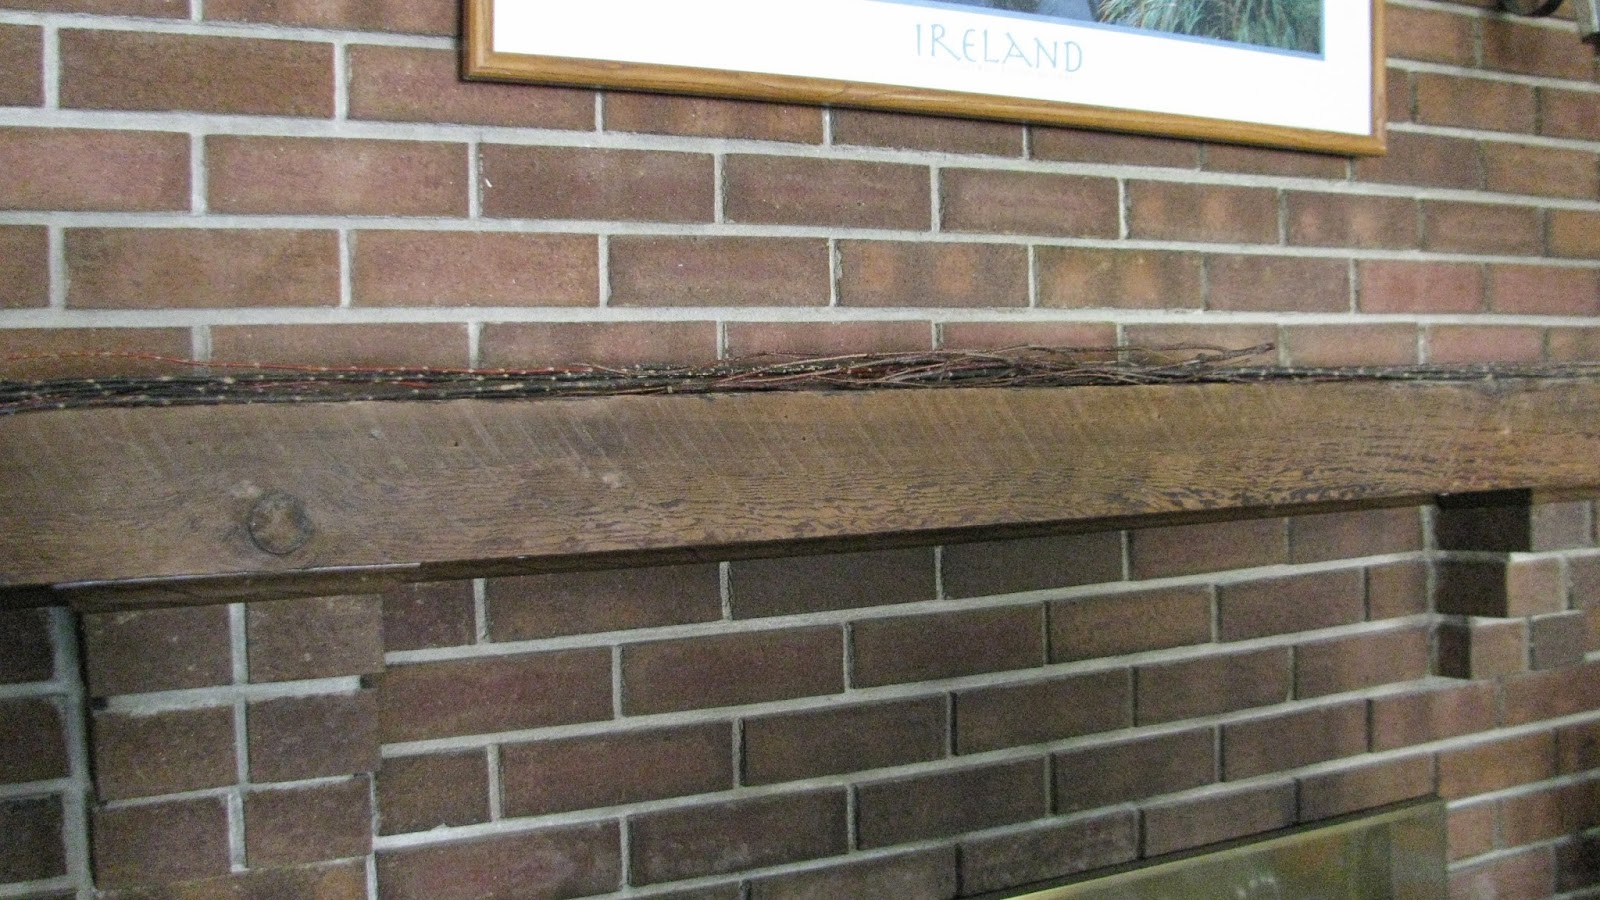


Next I added a faux leaf garland, right over the sticks.

I had the metal basket from Southern Living at Home and I filled it with a faux pumpkin and placed another on top.


Now back to the other side. I printed the picture from the internet and put it in a dollar store frame last year. I added this and placed it on a large flat rock I had to give it some height. I then added the silver candlestick and placed a small Southern Living at Home metal basket on it and stuck a pumpkin in the basket.
Remember to step back with every few items you add to see if you like what you are seeing. I ended up moving the silver candlestick forward in the arrangement as I thought things were looking too flat. 
Next I added the 'Autumn' print right in the center.

I thought it needed something else so I added a hunk of red rock I found on my Arizona trip in April to the mix. The color is good for fall. This is what I came up with.

So remember the guidelines.
- Vary the heights to keep the eye moving
- Vary the depth, bring some things forward in the display more than others. You can even drape things off the surface as I did with the garland.
- Layers, layers, layers
- The rule of 3's
I hope you try these at home! Thursday I'll be sharing these same rules and show you how I decorated my buffet for the fall. Next week it is the dinning table, other flat surfaces and how I bring a touch of fall to every room in my house. Then we go outside so I can show you my front and back yards and how I bring fall to them as well.
If you have any questions about decorating a flat surface, please don't hesitate to reach out to me. It took me a long time to learn this and I still mess up but I persevere! The best thing is that if you don't like it, you can change it! And if you love it then it is perfect.
Thanks for stopping by. Have a good week. Be safe!
Till Thursday,
Victoria
As always you can follow me on Pintrest -
http://www.pinterest.com/vicdenniso/
Facebook -
https://www.facebook.com/pages/Dragonflies-and-Thistles/491393717621010
And here on the blog at -
http://www.dragonfliesandthistles.blogspot.com/
No comments:
Post a Comment