I love wallpaper but it is something that you get what you pay for. Cheap wallpaper is thin and doesn't clean well. Wallpaper can be a fairly inexpensive way to change the look of a room and with all the different kind that you can select at different price points there is wallpaper out there for you.
After you have selected your wallpaper please, please, do yourself a favor and get a can of wallpaper sizing and paint it on your wall where you want to put your wallpaper.
DO NOT SKIP THIS STEP! Wallpaper sizing will save your life when you are ready for a change and want to remove said wallpaper. Otherwise wallpaper can be a real, beeoch to remove. There is scraping, hand held steamers, scoring and finally damaged walls and cost.
This is probably why people dread removing wallpaper or even putting it up. I am here to tell you, if you do the sizing step and paint it on your walls where you are putting the paper, it will make the removal easy.
I want to remove the wallpaper boarder from my kitchen. It was old, pealing and outdated. Prior to putting it up I painted the sizing on the walls so I knew it would be relatively easy to take down.
You will need: Spray bottle of water or a bucket of water and a sponge, flat scraping tool and time. I used warm water so my hands wouldn't get cold but you can use cold water too. The temperature of the water isn't important.
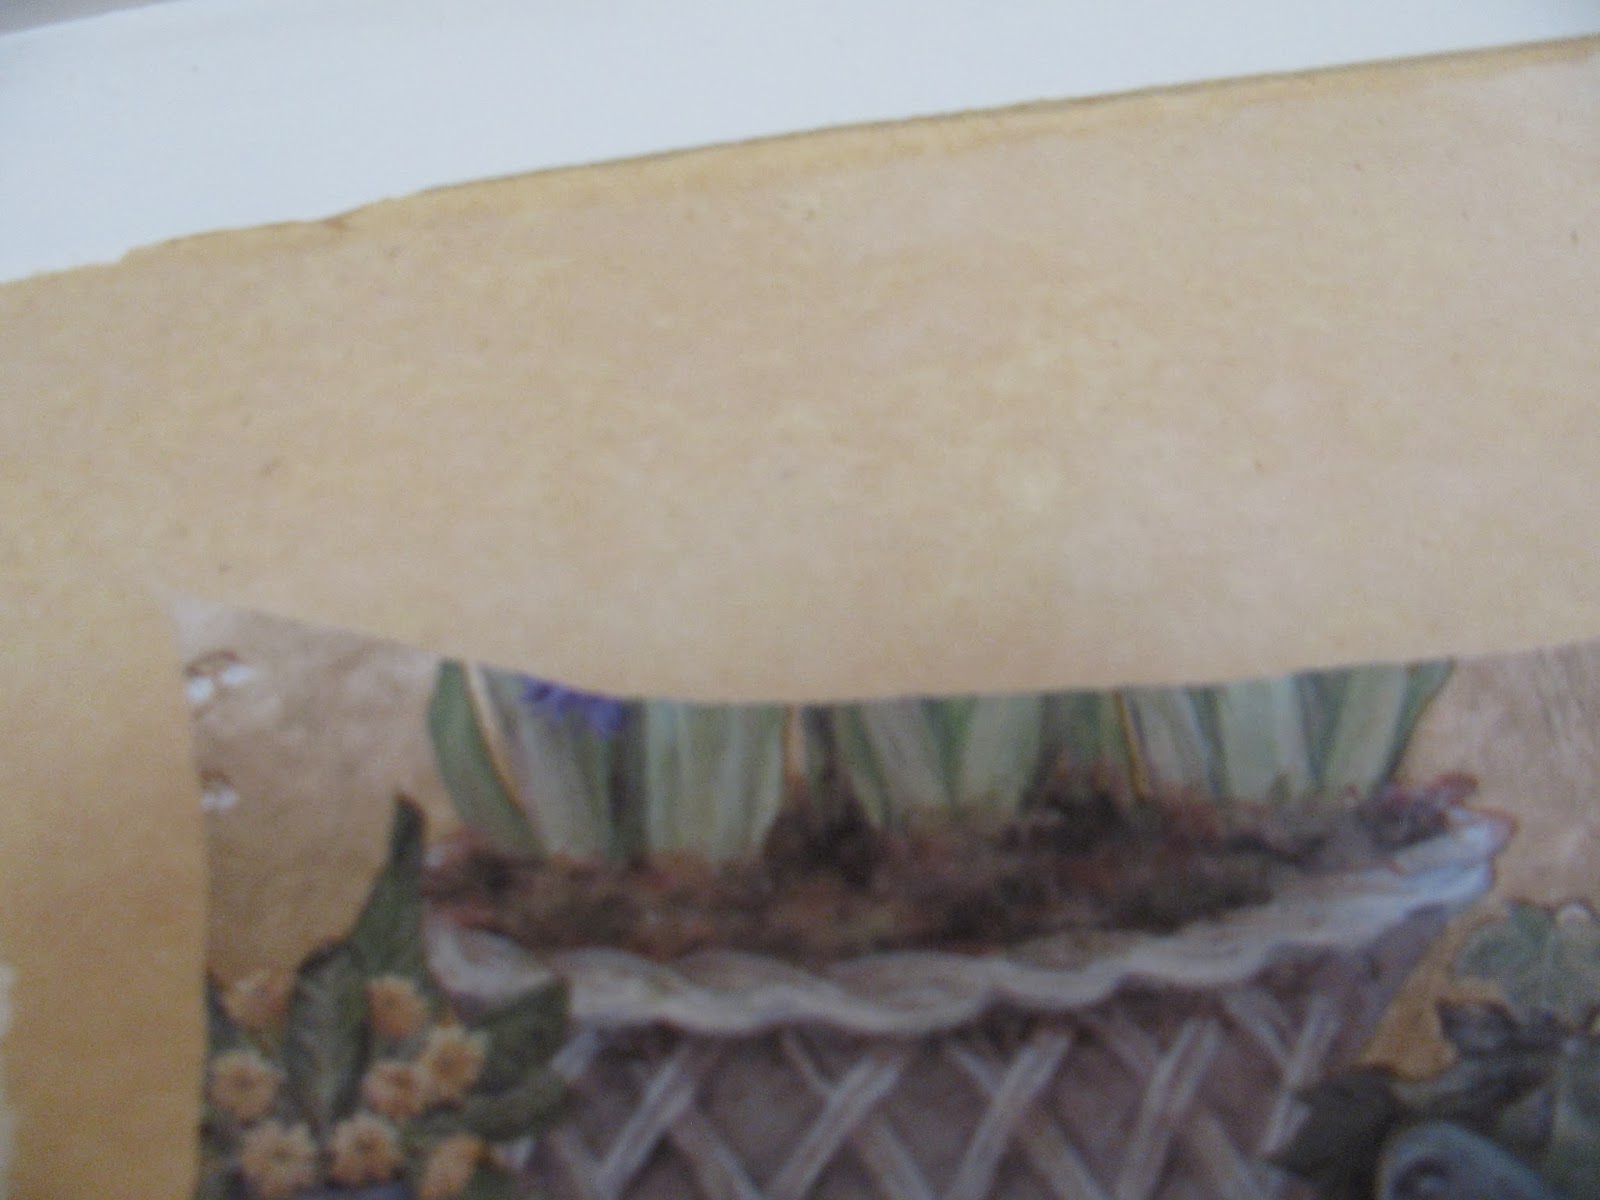
This is what the boarder looked like originally.


After 30 minutes we had successfully pulled all the 'front' of the wallpaper off the walls.

You can see the yellowish backing on the wall above the shelf in the above picture.
Next - this is when you want to use your spray bottle or sponge and water. You need to get the backing left really, really wet. Then you scrape it off using the flat putty knife. The wetter the better. and in most cases the backing will easily scrape right off and in some cases will come off in large sheets.

This step did take longer as I was working over my head and on a ladder but I got half of the backing off in 30 minutes.


The only bad part, the wallpaper and the backing ends up everywhere and there's a bit of clean-up to do.

The moral of this story - wallpaper is an easy and fairly cheap way to decorate but you really need to paint the wallpaper sizing onto the wall first! TRUST! You will thank me later.
Next steps here in the kitchen.... I want to get beadboard and put it on the soffit's above the cabinets along with some thick trim. Then paint the uppers and the beadboard the same color. Hopefully it will give the illusion of tall cabinets. I need a long kitchen rug and I need to choose a backsplash (I'm thinking stainless steel subway tiles). Then just paint, yes I still need to talk the hubby into my paint choices... oops I mean I still need to choose paint. Yeah that's it... tee heee!
Have a great Monday!
Victoria
No comments:
Post a Comment