I hope everyone had a great weekend. My goal over the weekend was to replace the old side table/nightstand I have been using for years with a proper nightstand. My goal was to find something with shelves or drawers and spend under $50 for the entire project (to include the cost of the nightstand, paint and any supplies).
Thanks to my friend John McGraw I had, notice I said had, a very nice nightstand that simply needed some cleaning. It met all of my criteria, FREE, shelves and oh, FREE! I picked up the nightstand came home and cleaned it up using a Magic Eraser and Liquid Gold furniture cleaner. If you haven't ever used a Magic Eraser before this little item that looks like a sponge is a wonder. It cleans scuff marks, crayon, marker and any number of other things. I buy them by the case!
Anyway, I cleaned up the nightstand and put it in my bedroom. I called my daughter in to look at the finished product. She looked at the nightstand and said, "Mom, it turned out so great! I LOVE IT!" she then looked at me and said, "You know my nightstand is broken...." needless to say I lost my nightstand and was back at square one. BTW - she loves the nightstand. THANKS JOHN!
SO back to the hunt. I checked Goodwill, Salvation Army and several antique stores in town. I finally ended up at Platte Furniture. The sell used furniture in varying conditions. Most of their inventory is slightly used and in good shape. I found a patio table with 4 chairs for $150 and another set of patio chairs for $20 each. All they need is a bit of cleaning, some paint and new cushions and they will be good to go. But back to the nightstand. I did find one! Two drawers, long legs and ample display space. It just needed a little TLC and paint.

I got out my sander and started sanding the existing paint off. My hubby was out of town and it took me 20 minutes to look through all the tool boxes and boxed items to find the sander. Luckily it had sandpaper in the box with it otherwise I might still be sanding. I can tell you that you need to take your time with this step. Sanding is very important, you need a good surface to put the new paint on. I didn't remove all the old paint but made sure the surface was smooth.
You need to sand in a well ventilated area, wear old clothes, goggles and use a mask. You will come out messy! The next step is to clean the item very, very, very well. You don't want any film, residue or sawdust on your piece before you paint it. Using my friend the Magic Eraser, soap and water and a towel to dry everything off with I cleaned off the piece.
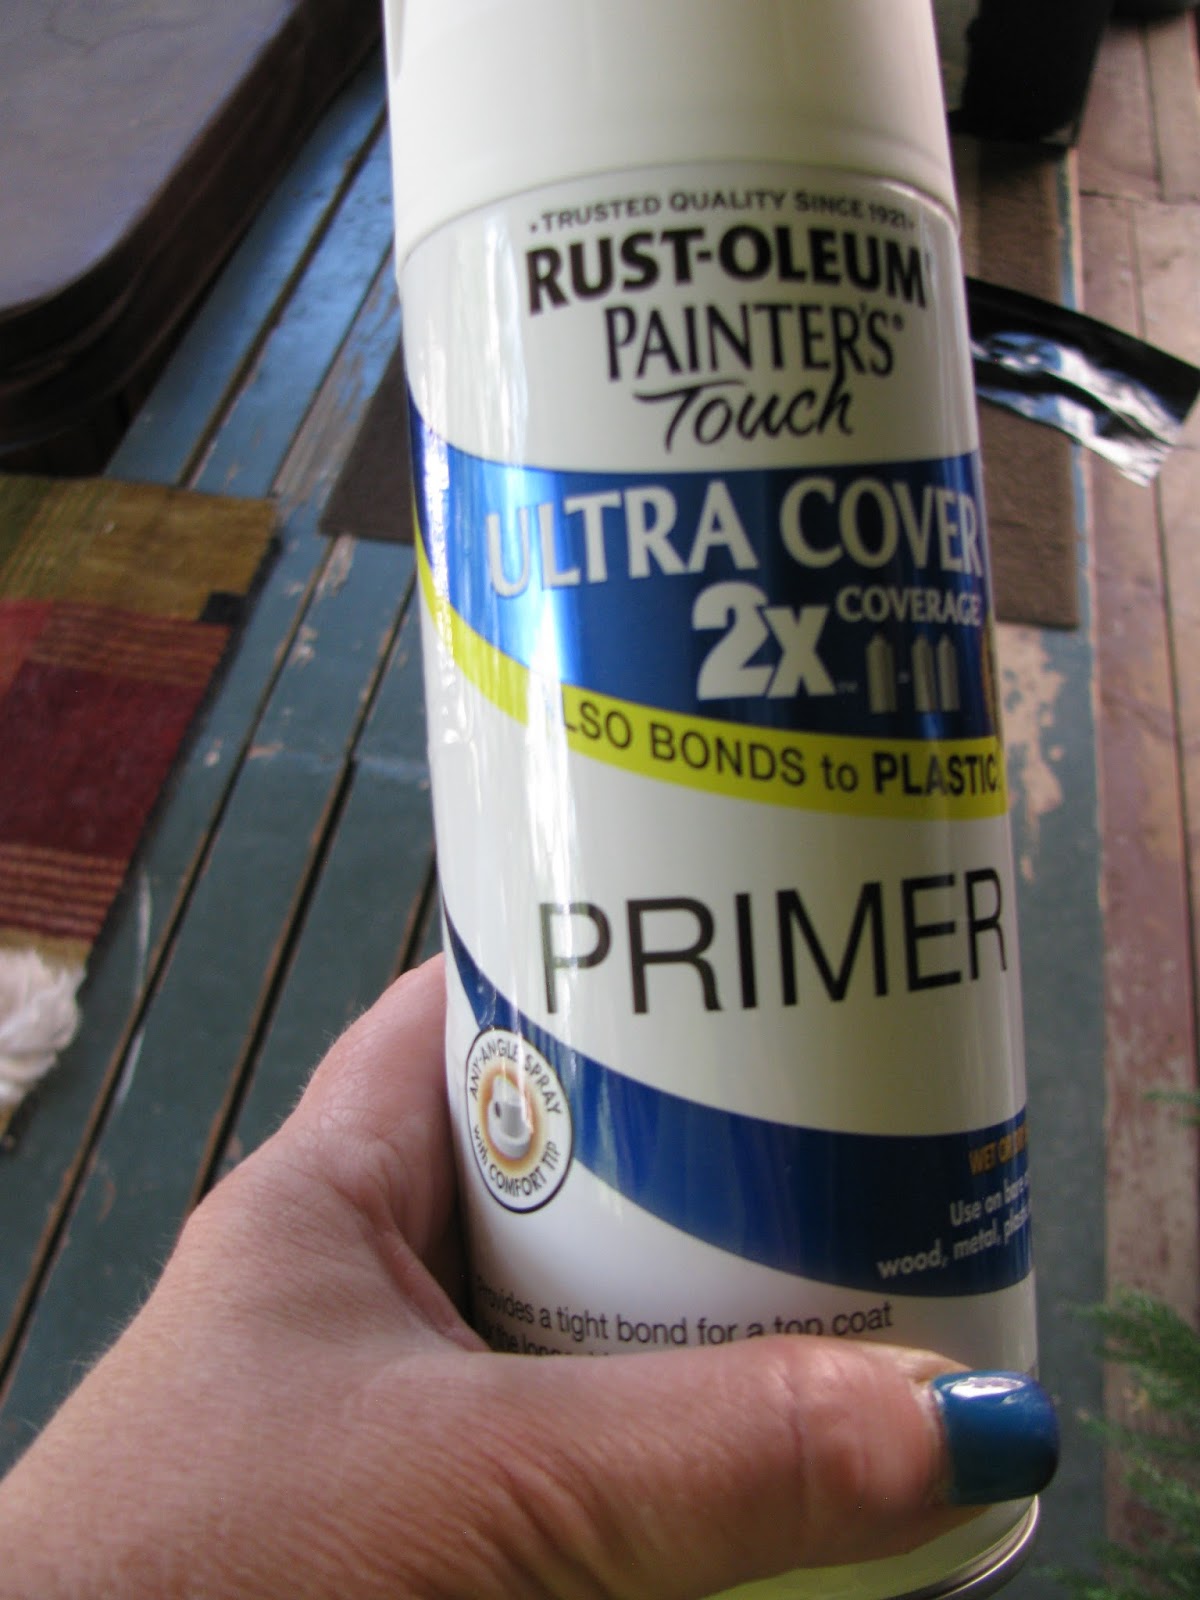
Next I primed the piece with white spray paint primer. I went to my local Ace Hardware to get the spray paint. I was overwhelmed with the selection. There are all kinds of spray paint out there, metal finish, speckled, satin, flat, enamel not to mention glow in the dark! There are also several brands to choose from. I chose the Rust-oleum brand as the can promised one coat coverage and fast drying time.

If you use spray paint, again make sure you are in a well ventilated area, wear goggles and use a mask. I put some trash bags down, even on the ground for this step. The primer worked well and covered the old reddish orange top in just one coat. The color I chose for the entire unit was called slate blue. I thought about making the top a different color than the bottom but decided I wanted the entire thing one color. However, the same brand of color took 2 cans of paint to cover the piece even though it still promised 1 coat coverage. If you have never spray painted before just make sure you shake the can well and shake it often. Hold the can about 10 inches away from the piece and go in a back and forth motion until you have the coverage you want. The best thing is, if you mess up, you can just start over!

The can also promised fast drying, I don't know if is because of the rain we've had lately and it is a bit humid or what but it took 24 hours for the nightstand to dry enough that I could put things on it without them sticking to it. Not the 15 minutes promised by the can.
In the meantime I went looking for knobs. I went back to Ace Hardware but didn't see anything I really liked. I then went to Hobby Lobby. If you've never checked out Hobby Lobby's selection of knobs, pulls and hinges you should really do it. I got these little beauties 1/2 price! You will see they were originally $3.99 each, a bit much but at half price, they beat any other stores prices. I just love them.
Next once the piece was dry I got to use the drill and make the holes for the new knobs. Once the hole was drilled in each drawer for the knobs I just screwed them in, attached the included washer and tah-dah DONE!
Now all I need to do it put it in my bedroom!
Ok time to price all of this out.
Used nightstand - $30.00
3 cans of spray paint - $3.50 each = $10.50
Knobs - $3.99 for 2
Total spent = $44.49 (without tax)
Not too bad and right at my budget with tax! AND I did it on my own, no hubby help!
Have you ever refinished a piece of furniture?
Did it turn out like you thought?
I'd love to hear about it!


No comments:
Post a Comment