Friday, November 15, 2013

Outdoor Thanksgiving decor upcoming crafts and the weekend

In my last blog I showed you how to make this super easy but really great bow.
I love how easy it is to make and how great it looks on chairs, packages, wreaths and anything you can think of.  I enjoy seeing peoples faces when I give them a present wrapped with this spectacular bow, they just ooh and aah over it, little do they know it was soooo super easy to make!

My outdoor decor for Thanksgiving is not anywhere as spectacular as Septembers yard of flowers and scarecrows or Octobers graveyard or Decembers all out Christmas craziness, no I like to keep November a little simpler.
I shopped my back porch this year.  I grabbed a small blue end table and a garden statue along with the September hay bales and just arranged them on my little porch.  I hung my last years wreath by the garage door and my oldie but a goodie, small willow wreath by the front door.  I made that wreath, cut the willow, soaked it and soaked it then shaped it into a wreath.

The dogs photo bombed me!  I just love the blue shutters and door as well.  It is amazing how some paint can make such a big difference.  I just look at it all and smile.
So up next this weekend is getting the roof Christmas lights on... yes I said Christmas lights.  It is much easier to put the lights up when there is no snow on the roof and it is still 56 degrees.  We won't turn them on until December 1.  I'll be sharing this piece of craziness soon!
Also this weekend I plan to head out to the stores and see what's what for Christmas this year.  I know Lowe's and Home Depot already have their Christmas things out (cause I've already bought stuff!).  I'll be checking them out as well as Big Lots, Target, Walmart, Home Goods, The Dollar Tree and Gordman's.  I'll be posting photo's and talking about other specialty stores like Joann fabrics, Kirkland, Hobby Lobby and Michael's.  I will also be sharing some information about some local Colorado Springs businesses and what they have for the holidays.
Also upcoming are some Christmas crafts.  I can't wait to show you what I am going to do with some old books, a dollar store silver tray and chalkboard paint.  I'm making serving trays out of wood for gifts, small Christmas tree's out of soda cartons and garland, I'm spray painting dollar store vases and last but not least more wreaths!  Hint - one of them uses wine corks!
I am gong to be one busy dragonfly!   Stay tuned!  So what are you doing this weekend?  I hope whatever it is you have a blast doing it!  I'll be back next week.  Today is Weight Watcher weigh in day, wish me luck at the scale! Victoria 

Tuesday, November 12, 2013

How to make a bow

For Thanksgiving I decorate my outside a little bit.  I hang a wreath or two and put some hay bales on the porch.
This year I decided to take an old wreath and rip off all the old plastic stuff and make a new one.
The wreath I used was straw.  I got the jute wrapping from Hobby Lobby - on sale for $1.99 for 9 feet.  I also bought the ribbon at Hobby Lobby - in the clearance section for $4.00 for 25 feet.  The ribbon is wire edge which is important because you can manipulate it better.  So for $6.00 plus a bit of tax I have a nice new wreath.  You could buy a wreath from the dollar store so then your total would be $7.00.  Still pretty cheap.

OK step 1:
Wrap the wreath:
I used craft glue and a couple of straight pins. I glued the end down then just wrapped the wreath then glued again and put some straight pins in to hold it all in place. I used Tacky Glue.


Next make the bow.  I hope this is going to make sense, these bows turn out great and you can make them as big or as small as you want.  
Making a bow.
1 - make a loop as large as you want the bow to be.

Then you just keep going in a circle wrapping the ribbon around the loop.  Make it as thick as you want.  This is about 5 times around. 

Now fold it in half

On the end where you made the fold you are going to cut each side on an angle.  Since the ribbon is wire edge make sure you use sharp scissors!

Don't worry about being neat, as you can see above mine isn't even.  This is what it looks like when you unfold it.
Now take another length of ribbon.  I use my arm for a guide, yep my arm.  I do two times my arm but it depends on how much ribbon you want hanging down on the item.  
Wrap it around the section of the folded ribbon and make a knot. 
Make sure the knot is tight!
Start at one end and hold the ribbon at the looped end. Starting at the INSIDE pull the ribbon out and toward you to the right - it could be the beginning of the ribbon and not a loop.  Then grab the next INSIDE loop and pull it out to the left.  Continue until all the ribbon has been pulled out.  It should look like this.


Now do the same to the other side of the looped ribbon.  It should come out looking like this.  You may need to fluff it a bit using the wire on the edges to poof (that's a technical word there!) the loops!

Then you are going to tie the bow to your wreath.

Finally I used the end of a wooden spoon to curl the left-over ribbon.

Then I hung it on the front door!  I think it looks great.

These bows are easy to make and you can make them big or small, you can wrap them around anything!  You don't necessarily need to use wire edge ribbon to make these, any wide ribbon can be used.  I hope everyone tries this bow.  If you need help just let me know! 


Friday, November 8, 2013

Thanksgiving decorations

TGIF everyone!

So how are your Thanksgiving preparations going?  I do not host Thanksgiving dinner, but I do still decorate for the season.
This is my mantle this year.
Step 1 - I kept the branches I had up from Halloween.
Next I layered some faux fall leaves and uncurled a twig wreath.  Then I put 2 lanterns on each end (they do have candles in them).  Finally I layered a string of led orange lights (from Halloween - dollar store) and placed 2 faux pumpkins in the middle.
I really like it.
Here it is lit up at night.
My fireplace is massive and I mean big!  At the bottom I just stuck all my pine cones in a basket and a tall vase I got at Home Goods for $12.00 ($11.99).  See John McGraw, I do have an obsession with pine cones!

Then I decorated my buffet.  I need to replace this, it is BIG and my house is tiny only 1500 or so square feet on each level.  But, the buffet holds lots of plates and dishes - I LOVE dishes, don 't know why I just do!  Anywho, the leg is broken.  This poor buffet came from England when my Grandmother came over to the USA in the early 1900's so it has been around for a while.  I don't think it can be fixed, the leg broke in half when I was moving it last Christmas and now I've got it taped with really thick black tape.  The buffet is probably 5 feet long and has great storage so I need to find something else to use in its place.  I am still on the hunt for something!  

I really like decorating it though and if I didn't have it then this is what my mantle would look like.  
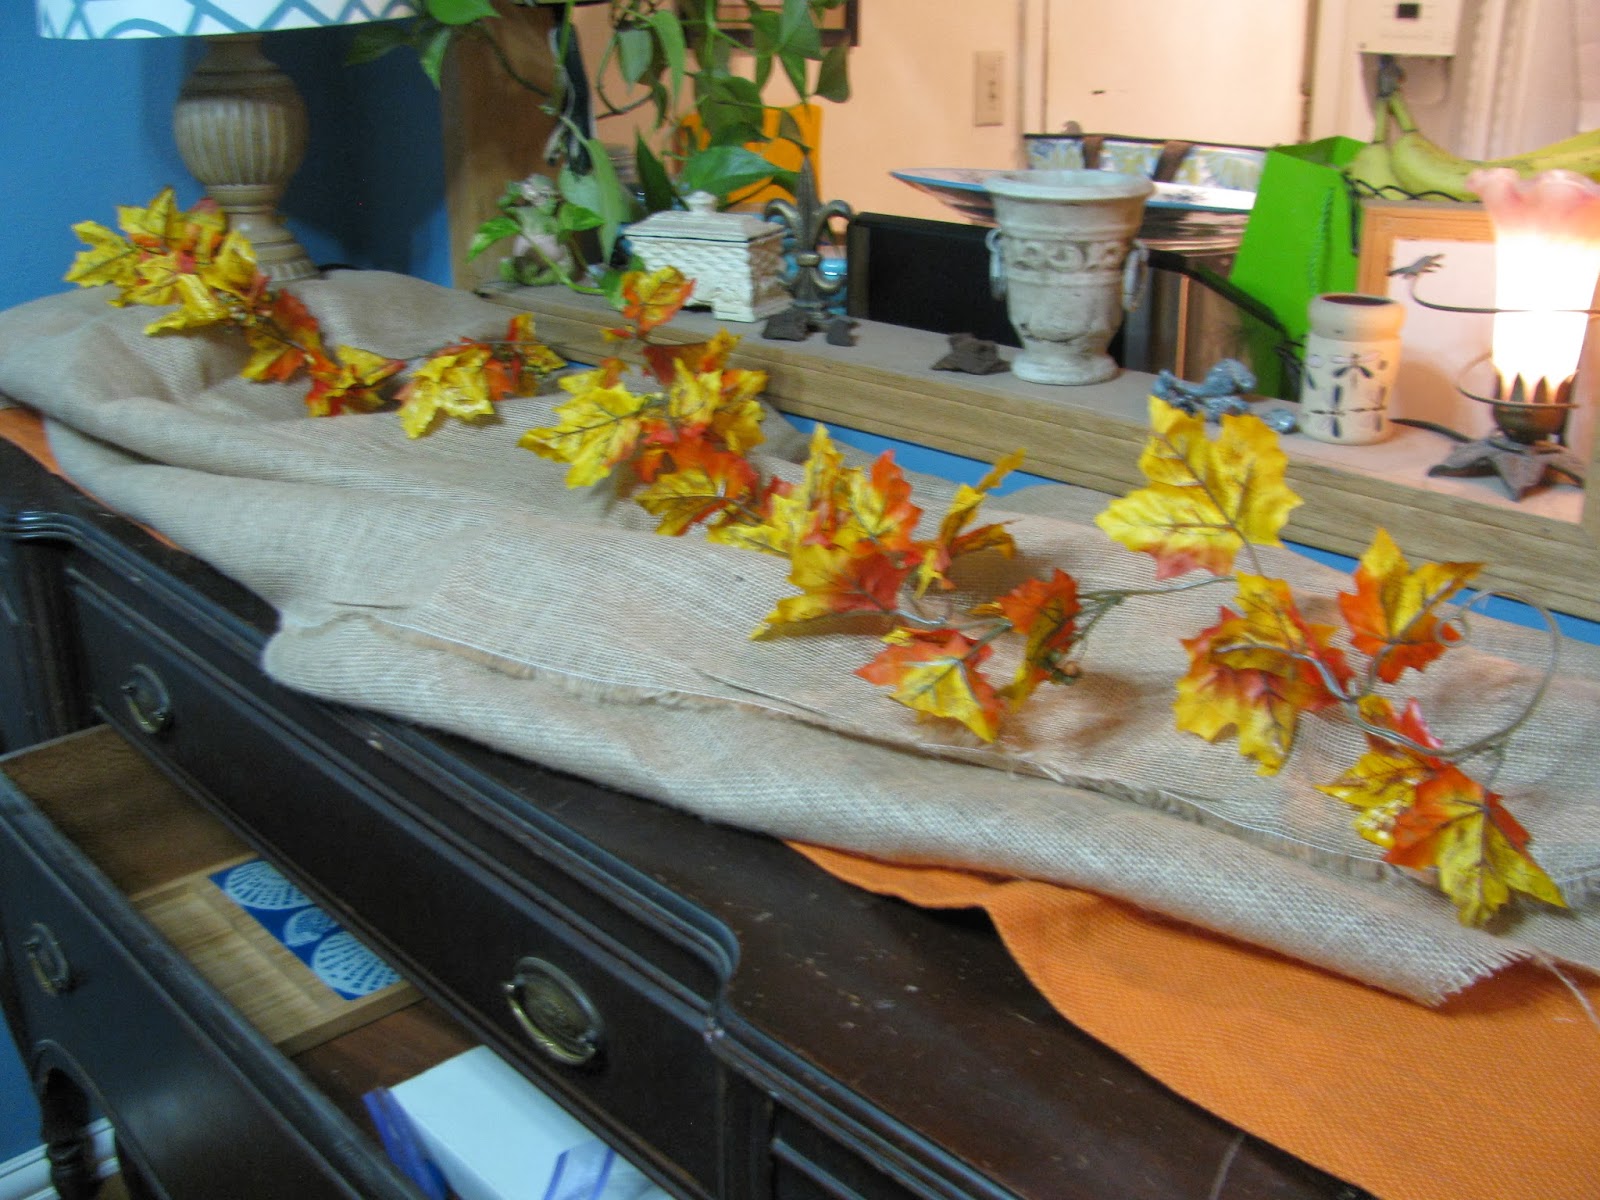
Ok to start I bought an orange hunk of plain cotton material.  I got 1 yard at Walmart for like $5.00. I placed some books on one end and layered the burlap I bought in September over the top and added a runner of faux leaves (2 sets).  Then put my Target lamp on top of the books (for height).


 \

 The goal is layering, layering, layering... repeat after me - L A Y E R I N G!
Now I started adding decorative items, the awesome iron ball my daughter gave me for my birthday, a small plate I got from World Market (notice its a dragonfly!), the face I got from a craft fair and faux pumpkins.  I really just started placing things and stepped back and moved things around till I got them where I liked them.


You'll notice I also used a sea shell.  I always use shells in my decorating no matter what time of the year.  It's homage to my home and where I grew up outside of Baltimore, Maryland.
Isn't that iron ball just AWESOME!
I got these big glittery acorns at Hobby Lobby (they are picks, meaning they have a stem on them.  You could cut this off if you want, I did not).  They were on sale for $2.99 each.  I got an all brown one and an orange and brown one and just stuck them into the arrangement.


 As I stood back and looked I noticed I needed something around the lamp.  Last year, after Thanksgiving, I bought several small picks at Hobby Lobby they were 50 cents each!
I ALWAYS ALWAYS shop after the season, you get things at such a great discount!  That is how I got the $12.00 Halloween clown.
I just tucked several of these picks into the area around the lamp.
Looks good right!
The final step was the basket.  I had a lot of left-over faux gourds and pumpkins.  I got a basket and placed it at the opposite end from the lamp and filled it with the remaining faux stuff.


And we are done!  I think it looks AWESOME!


What do you think?  I love it.
Next week I'll show you my dinning room table set up.  Till then have a great weekend!  Victoria


Tuesday, November 5, 2013

How to change the look of your house pt2

I know you are saying, 'Really, for under $80.00?'  Baloney!  But it is true!  So far I showed you how painting the venting system on your roof for less than TEN dollars can change the look of the outside and today I'll show you how to really change the look of your house.

Paint

Yes plain and simple - PAINT!

Not the whole house just your shutters or your door.  It can really change a lot.

Our old color was this red, while I like red a lot I just don't like this red.  It had too much pink in it for me.
Before I painted our door and shutters.


 EH it looks OK but EH nothing to write home about right... (ignore the Halloween decorations please!).

So the hubby and I went to Sherwin Williams (they are not sponsoring me) and chose a paint color.  Now usually when you get paint it turns out darker than the card sample.  I have found this NOT to be true with SW paint.  I find it to be pretty spot on with the swatch.
I chose Santorini Blue (SW 7607).  Inside it looks right to the swatch color but outside it is much lighter.  So that is something to remember when choosing an outdoor color.  When you see the picture below you are going to say, 'That doesn't look lighter' but it does.  SW outdoor paint starts at $60.00, yes they are proud of their paint BUT I find that it doesn't splatter or drip like other paint.  It is much thicker than the big box store paint which we have faithfully used in the past and is used on the exterior of the house, (Valspar - Mark Twain Gray Brick 4005-2C).  It takes much less of the SW paint to cover an area, even red!

Here is the after:


A BIG difference huh!  I love it, just love it.
Here is the swatch and the front door from inside the house and yes it is pretty spot on to the swatch.
I think it really makes the brick pop now.  What do you think?  I am on this whole blue, gray, orange and brown kick lately - it is getting a bit out of hand.
So for less than Eighty Dollars I've transformed the look of my house.  I did the front of the door, the shutters and all the trim with less than a gallon of SW paint.
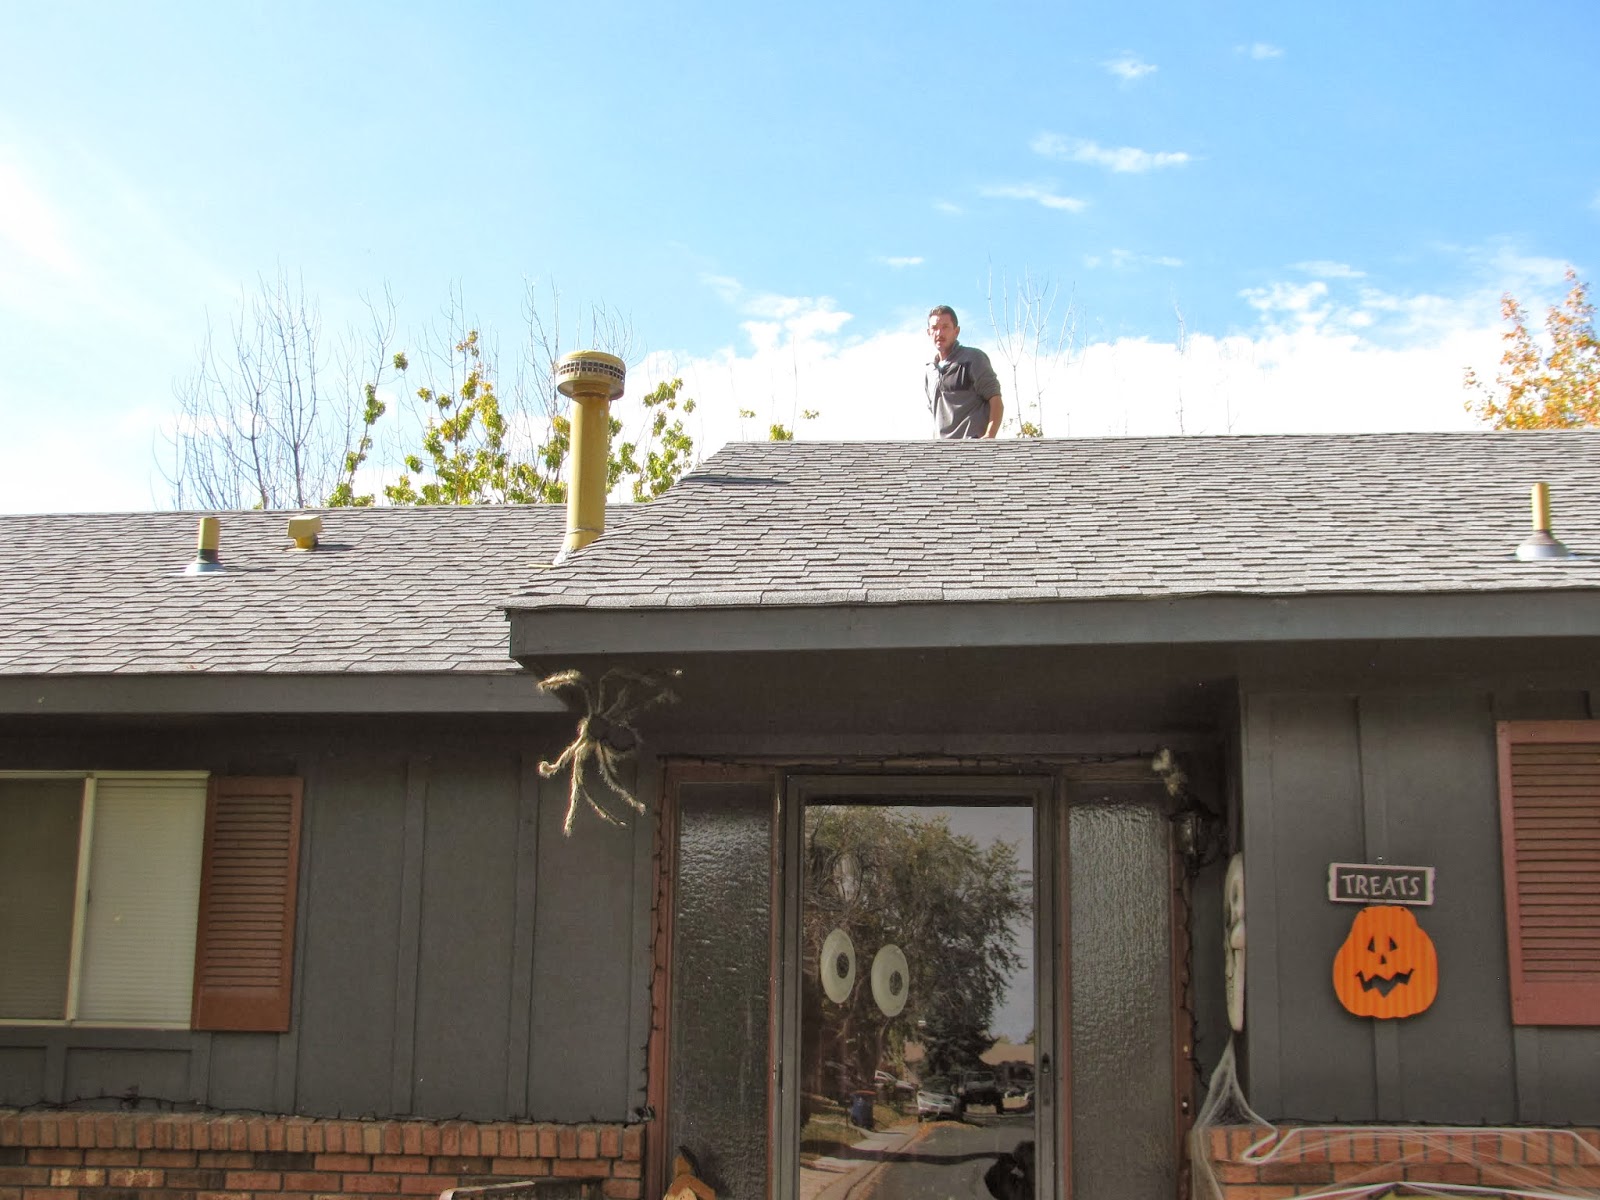
Again BEFORE Mustard Yellow vents, red door, trim and shutters:
AND AFTER 
So lets look at the totals:
1 can of heat resistant black spray paint - for the roof vents = $8.99
1 gallon SW Santorini Blue outdoor paint = $60.00
Grand Total = $69.00 plus tax.  It came to about $75.00 total.
I had paint rollers and other supplies on hand already.
You can do it much, MUCH cheaper by using a big box store paint that start around 30-40 a can.

I would like to eventually get a kick plate and new hardware (door knobs etc) but have you priced those?  CRAZY EXPENSIVE!
SO, Are you up to the challenge?  You CAN change the look of your house easily with just a bit of time for not a lot of money! I'd love to see your pictures if you try it.
Next week I'll be decorated for Thanksgiving and sharing my love of dishes, it's an obsession actually, but at least I can admit it!


Wednesday, October 30, 2013

How to change the look of your house for under $80.00 Pt 1

I took off work this week to help my hubby work on getting the house ready for winter.  You know fun things like cleaning gutters, caulking around windows and doors and putting up plastic around our 1972 windows.

We made a list of what we wanted to accomplish this week then prioritized the list.  Personally I am not a list maker but I did marry one.  I always tease him that by the time he makes the list I could have done the first 3 things on it!  BUT we made a list.

One of the first things we did was to caulk and paint the vents on the roof.  I bought a can of heat resistant spray paint.  This means you can use it on something that gets hot like your fireplace front, gas grill or in our case, house vents.

We painted our house gray about 5 years ago but never painted the house vents on the roof.  I bought black spray paint and heat resistant caulk in black as well.  First we caulked then we spray painted.  I held a large piece of wood so the spray paint wouldn't go everywhere.

I think it turned out great!  For the cost of a can of spray paint, $7.99 in this case, you can change the look of your house!
Before - Ugly mustard yellow:

After:  Nice Black!


Pretty good huh!  Cheap too!

Again side by side before and after

.
 
This is step one of the under $80.00 transformation.  Next is the shutters and door, remember this ugly red color!