Wednesday, February 26, 2014

Self Leveling Paint, I'm in love.

Let's talk paint shall we? 

Paint is a fairly cheap and sometimes easy way to change the look of something.  Depending on the type you buy, paint can range from $30.00 to $64.00 a gallon. 

Notice I said sometimes easy....  that is because there are times when you have to patch holes, sand walls, clean walls, move and or cover furniture or even take things apart, just to paint.  Doors may have to come off, curtains need to be taken down and then there is taping - ugh.  Taping is a necessary but boring task but it needs to be done to prevent drips and spills on things you don't want painted like baseboards or windows. 
(Covering the hole for a land line phone).


I like to say that I love the idea of painting but not the actual prep or painting itself.  Even when I was in art school and needed to paint I always waited for the last day, heck the last hour to finish a project. 

Needless to say painting is really not my thing, but I do like the idea of it.  I've painted furniture, walls and even doors before but it doesn't hold my interest and I really need the quick fix.  NO, what I really need is a Genie to pop out of the bottle and blink his or her eyes and it all be done! 

With that said - painting...  If you've read Tuesday's post you will know that I took down some old wallpaper border in my kitchen.  You'll also know that the hubby and I decided to paint, yep paint the walls and cabinets!  YIKES! 

Now if you want to take on this task I must tell you that it is VERY labor intensive.  It is worse than the year we decided to paint our house exterior and other than the 'cutting in' we used a sprayer.  No such luck here! 

Let me tell you, I was worried about this project until we went to the paint store.  See to paint furniture or cabinets correctly you HAVE TO paint, let dry, sand, wipe down, let dry, paint, let dry, sand, wipe down, let dry, paint, let dry, sand, wipe down, let dry... you get it.  Time consuming and labor intensive.  I really wasn't looking forward to this part of the process but I was looking forward to getting rid of the white cabinets. 

We chose to go to Sherwin Williams because I had a coupon and because my husband loves their paint.  Low VOC, easy cleaning, easy application, doesn't splatter etc.  BUT they are very, VERY proud of their paint, the Emerald series can run you $64.00 a gallon.  However, I can tell you that when you roll it on there is no splatter - you won't end up with it all over you. 


So here we are at the Sherwin Williams store and I have picked out several colors for cabinets and walls and then I let my husband have the final pick.  He picked Mindful Gray for the upper cabinets and Serious Gray for the lowers.  He did not like my pick of bright neon green for the walls and instead chose Wondrous  Blue.  So to the counter we go to get paint.  The sales clerk asks me what we are painting and when I tell him cabinets he says, "Then I recommend our Pro Classic line of paint.  It is self leveling and especially for wood doors."  I was like, self leveling what is that? 

Self leveling paint does what the name indicates, it levels itself so there is no sanding and wiping clean and waiting and painting over and over!!   Where oh where has this product been all my life?  So I ask him, "Really now no sanding."  He nodded and said, "yes and better yet it will level itself so there is no brush marks."  I was really excited now. 
I chose semi-gloss for the doors and drawers and trim and satin for the walls.  Semi-Gloss is a bit shinny so if you don't want that look steer clear of Gloss or Semi-Gloss.  Personally, my poor kitchen cabinets need all the help they can get!  Also I find that Semi-Gloss cleans up easy. 
Now to the painting.  See that ugly door the paint can is sitting on, yep wait to you see how decent they look painted!  I am very pleased. 

We are also putting on new hinges.  Can I tell you what a pain that is!?  You take the old hardware off, then sand down the holes, then you have to sand the cabinet where the old hardware was.  Sanding, sanding, sanding.... lets just be DONE!  But we sanded and wiped down all the doors and cabinets and vacuumed and dusted and then finally painted. 
Here is a nice before... ugly white, and no we didn't pry those knobby things off.  I wanted to but that would entail, patching and more sanding.  I'm over it. 
 And after - mindful gray.  I'll talk later about how paint is either brown, blue or white based.  This mindful gray is a brown gray. 


But see no brush strokes and NO SANDING!  YIPEE!!!! 

With the Wondrous Blue walls the colors fit nicely together. 

 So the next time you want to paint furniture or cabinets or doors, remember to look for 'self leveling' paint.  It truly does not show brush strokes.  I am pleased. 

I'll be sharing more of the kitchen next week, if we get it done that is.... We still have all the lower cabinets and drawers to paint and then more hinges then - and I'm REALLY excited about this, we are putting handles and knobs on things!  Handles and knobs!  FINALLY! 

Have a GREAT weekend.
Remember to follow me on Facebook -
https://www.facebook.com/pages/Dragonflies-and-Thistles/491393717621010

Or Pintrest under Victoria Dennison
Or you can email me at - dragonfliesandthistles@gmail.com
You can also comment on Facebook! 

Here's a sneak peak of what I started before the kitchen, decorating for St. Patrick's Day.  Hopefully I'll finish this weekend and get my dinning room back and have some crafts and decorating to share. 

Have a great weekend!
Victoria


Monday, February 24, 2014

Wood initial plaque and the best laid plans....

I know there is an old saying about the best laid plans.. well maybe that is Murphy's Law.  This past weekend I had such great plans, decorating for St. Patrick's Day, painting my bedroom, a craft and some good food. Yeah none of that happened, instead this is what my house looks like right now.

Not many blogger would be brave enough to show you this but I think this is what blogging is all about.  Obviously I don't have the perfect home and it isn't clean all the time either.  Now let me explain....
I finally finished taking down the rest of the wallpaper boarder in the kitchen.  Remember the wallpaper?
Because I put wallpaper sizing on the walls before I papered it was really easy to get off with a water bottle and a putty knife.  If the front came off and left the backing I just used more water and it came off in sheets.  No holes in the walls, no sanding or scraping or hard work.  BUT (and this is a big BUT) - after being up for 10 years or so the wall underneath the wallpaper was a different color.  I think that I am so clean but let me tell you that you could still see where the wallpaper was because it was clean and an entirely different color than the rest of the walls.  I was astonished!  So I did what every woman would do, I started cleaning the walls with soap and water then a Magic Eraser (they are AWESOME if you've never used one).  The walls were still different colors.  My husband was watching me and finally said, "Let's just paint it.  You've been wanting to so lets just do it." 

Now if you remember the first couple lines of this post, I had plans for this weekend - paint our bedroom, so my response was, "You'll do anything to get out of painting our bedroom won't you?"  He just smiled and said, "yeah and I'll probably regret this anyway but lets do it."

So my plan to paint our bedroom, get new bedding, decorate for St. Patrick's Day, do a craft and cook some crockpot pork went right out the window.  Gone, gone, gone!  Because once you paint the walls the ugly white cabinets look really bad, so we'll have to paint those too right... Yep.  And while we're at it lets put door knobs on the doors finally and get hardware period... OK!  Twist my arm!

Now we don't want to do too much in the kitchen as it is still on our list of gut job renovations but at least I'll have nice painted cabinets with knobs and nice walls - eventually!  Call me excited. 

So today I'll be sharing a craft I did with some wood I bought at Michael's from the weekend of Valentine's Day.  Now you thought you would get to see some kitchen stuff right... nooooo, sorry!  (but keep coming back, it will be here soon!).

This is an easy craft, the hardest part was the painting but isn't it always! 
I bought some wood scrollwork, wood letters and wood plaques at Michael's the other day as I was inspired by their Pintrest party. 
Sorry this is upside down.. I can't seem to turn it even with my camera. But you can see the end result is pretty nice! 


To make one of these you will need:
Wood plaque
Wood scroll work
Wood letter
Paint of your choice
Ribbon of your choice
2 Painting sponges and or brushes (you will need the brush if you paint the scroll work)
Decoupage medium
Scrapbook paper of your choice
Paper plates - at least 2
Stapler
Pencil
Scissors
Craft glue that will dry clear

You want to make sure it all matches color wise.    I did two, one for each daughter.  They both like different colors so both plaques look very different.

First things first - If you are going to paint the scroll piece - BEWARE - it took a lot of time.  A LOT!  It is very time consuming to get in all the grooves on the scroll.  I use paper plates as a paint holder.  I just pour the paint on the paper plates and throw them away when I am done. 
 For these I used white.  That is what my one daughter wanted.
While that is drying you can paint your plaque part.  Make sure you get the sides! 

Now for the letter.  I picked out scrapbook paper that was color coordinated to the plaque pieces.  One daughter loves black and white while the other one just loves bright colors. 
 
Step 1 for the letter - take your wood letter and your scrapbook paper.
 
 Step 2 - turn your scrapbook paper to the over so you have the back of the paper facing up. Now flip your wooden letter backwards and trace it out. 
 Step 3 - Cut our your traced image.
Step 4 - Using your other paper plate, pour out the decoupage medium.  If you haven't already flip your wood letter to face the correct way.  Now, using another sponge - cover your wood letter with decoupage (this will act like glue)
Step 5 - Carefully place the cut out scrapbook letter over the wood letter, then carefully spread more decoupage over the front of the letter - this will dry clear.  Be careful, you want the scrapbook letter to sit over the wooden one.  Also decoupage medium can make thinner paper tear and buckle. 
Now sit the letter aside to dry.
 
Once your plaque is completely dry flip it over.  With your ribbon you will make a loop and staple it to the back of the plaque. I used heavy duty staples but you can use regular, the piece is light and can take the regular staples.  As you can see I did fold over the ribbon for a stronger hold. 
Turn the piece back over.
Once your scroll work is completely dry you can glue it to your plaque using the craft glue.  Again make sure the craft glue says it dries clear....
I'd let this start to dry a bit.  Your scrapbook covered letter should be dry now as well.  Using the same craft glue, glue the letter on top the scroll work piece and you are done!  I put the glue on the back of the letter then put the letter on the piece.
Tip - let this all dry sitting flat for at least 30 minutes before you hang it.  
 You can see the glue on the top one, still wet. 


(Again, sorry it is upside down!).  Anyway - pretty cute huh!  I think so and my girls love them.  I wrote my name and the date on the back so they'd know when it was made. 
A nice thing about this craft is that is was pretty easy - again the most difficult part was painting all that scroll work white. 
This craft is versatile - you could do it for any occasion.  You could do a monogram for a wedding shower gift.  You could use smaller wood letters and write a baby's name or a boy or girls name and give it as a gift for a birthday or baby shower. 
Instead of a wood plaque you could use canvas and glue it all down then paint it all one color.  OR, you could paint the wood different colors first then glue it to the canvas.  The creativity is endless! 
 
I got the wood letters and scroll at Michael's.  I got 1 of the wood plaques at Hobby Lobby and one at Michael's.  I got the paint at Hobby Lobby.  The scrapbook paper is from achievers. The glue I used is Martha Stewarts craft glue that dries clear and I got that at Michaels as well as the ribbon.  The paint brush and sponges I used to paint I got at Hobby Lobby as well as the decoupage.  The paper plates, Walmart.  We had the stapler, scissors and pencil. 
 
I hope you try this craft.  If you'd like to and need help, you can write me on Facebook -
Or you can email me at - dragonfliesandthistles@gmail.com or you can comment here on the blog. 
So I normally post Monday, Wednesday and Friday but it looks like this week it will just be Tuesday and Thursday.  I'll try to have a post for Friday but no promises as we've got to get the kitchen painted and back together ASAP! 
Happy Crafting!
Victoria


Friday, February 21, 2014

Heavy Metal

Mix your metals?  YOU BETCHA!

Gold and bronze are making a comeback in decorating in a big way this year.  If you have looked through any decorating magazines, Pottery Barn or say Ballard Design, you will see a lot of bronze, copper and gold accents.

Me, I'm not a fan, or at least I thought I wasn't till I started looking around my house and to my astonishment - yes I have copper and gold/brass as well as silver and wrought iron.  So, ok, maybe I am closet fan of these tones. 

This is my entry - notice the really large gold mirror.  Yeah how did I not know this is gold and then how can I say that I'm not a fan?  But wait, it gets better!
This was a gift from my In-Laws.  I just love it, you can hang it vertically or horizontally - so versatile!
This little beauty hangs over my front door.  I got it from Southern Living at Home.
 Behind the door is a wrought iron thing, I think you are supposed to put flowers or something in it, I like it empty, and some silver dragonflies.
Opposite the large gold mirror is this, a brass dragonfly and a wrought iron table (this is the one I want to replace with a dresser) and mirror.  On the table I've got a gold/brass candlestick lamp and a silver tray. 
 
As you can see I am getting decorated for St. Patrick's Day!  Erin go Bragh means Ireland forever in Celtic. 

Then I looked at my mantel.. hmmm brass, copper, wrought iron and silver accents.
I just love Fleur de Leis and you will see them, dragonflies and sea shells all over my house... did you notice the white dragonfly on the entry table? 

I even have some gold accents on my living room shelf.
The coffee table has a black wrought iron base and a glass top.  I got the gold tray at Home Good a few weeks ago in the clearance section for $3.00!  The orb was a birthday present from my oldest daughter and the decorative brass/gold thing I got a Kirkland's years ago on sale - I still had the tag on the bottom, for $5.00. 
My side table even has a bit of gold to go along with the iron lamp. I got the gold candle holder for .98 cents at Target!  It was on sale - shop those end caps and the back corners of the store people!  Anyway, it was on sale for $4.98, originally $9.99! and I got it with my cartwheel app for .98 cents!  CRAZY!
I also got the orange candle on sale at Target for $2.00, it smells great and I love orange it is one of my favorite colors. 

Now why does this mix of metals work?  Because I repeated it.  In nature things are in odd numbers and heights.  Nothing is perfect and this is what our eye and mind looks for.  So in decorating you need to keep things in varied heights and odd numbers.  I repeated the brass/gold accents around the entry and living/dinning room so it keeps your eyes moving and in your mind it becomes cohesive and right. 
The coffee table would not work with the gold tray and brass orb if I didn't have the gold decorative thing right there and there wasn't gold on the side table nearby.  It would look out of place and stick out like an old sore thumb.  It also works because it is really close to the same coloring as the base of the coffee table. 
If you notice, I also varied the height on things on the table.  The pink candle is lower than everything else then the orb then the decorative finial thing.  Varying the heights keeps your eye moving over a space.  These tricks keep your decorating alive and vibrant. 

I even have some gold in my bedroom...
 I got the gold tray at Target, it is a plate that is on sale right now for $9.00 and they have it in many different colors.  The Lucite lamp I also got at Target a few years ago but they still carry it.  The glass jar with the brass top I've had for eons now, it was a gift and I put potpourri in it since the lid has openings. The jewelry is mine - the gold necklace is from Chico's, (they still carry it), and the silver one is from a shop in the Chapel Hills Mall.


So don't  be afraid to mix your metals!  Go out and buy a few accents, (3). that are gold or brass.  These metals are making a comeback in a big way in decorating (but I don't think they ever really went out of style). 
Next week I'll be sharing a Michaels craft I did for my girls and I'll share my house decorated for St. Patrick's Day and finally, a pulled pork recipe that is to die for! and the best thing about this recipe is that it goes in your crock pot! 
Have a great weekend!  Till Monday -
Victoria

Tuesday, February 18, 2014

Chicken surprise

In a ongoing effort to show you that not only can I cook but I'm inventive, here is a recipe for a main dish with Miracle Whip.  My husband loves this stuff, me not so much.  I find that it just plain tastes weird.  BUT, I really like this dish.  You don't really taste the Miracle Whip. 

I am all about the easy and this is an easy recipe that you can make quickly with just a few ingredients you probably already have in your house.

My husband calls this Chicken surprise though I am not sure why as there is no surprise. 

You will need:
Chicken breast (I use 1 breast for each person)
Spices of your choice - oh here could be the surprise!
Salt & Pepper
Miracle Whip - fully leaded
Some sort of noodle
Veggies of your choice - fresh or frozen is preferable.
Skillet to cook it all in
Pot for the pasta
Knife
Cutting board
Wooden or stir spoon

First up make sure your chicken is de-thawed, otherwise you will need to do this step.  If I forget and need to do this, I'll blanch the chicken in a bath of water and spices. 

  • Cut your chicken into 1 inch thick pieces.
  • Place your skillet on the stove on Med heat.
  • Place the chicken and 1/4 c of miracle whip in the skillet
  • Add your spices.  (This time I used Mrs. Dash Southwestern).  You can use any type of spices you want here, in any amounts you want.  I used 2 tablespoons of Mr. Dash. 
  • Mix well. 
  • Turn to Med/Low and cook till the miracle whip begins to dissolve and the chicken is browned, stirring every now and then, about 4-6 minutes. 
  • In the meantime - cook your noodles - whatever kind you have on hand will suffice.
  • Also take this time to cut up your veggies.  You can use squash, peppers, green beans, edename, peas, corn, brussel spouts, asparagus,  zucchini, basically any kind of veggies you like. 
  • If you are using fresh veggies, make sure you wash them well. If you are using frozen make sure they are free of ice by washing them off. 
  • For this recipe I just used corn. 
  • Once your veggies are cut and rinsed put them in the skillet with another 1/4 to a 1/2 cup of miracle whip.  You will need to judge - the more veggies the more miracle whip you will need to coat everything evenly.  I also take this time to add a bit of salt and pepper.  (I add a pinch of salt and about a teaspoon of pepper.  I like pepper, if you do not just add a pinch).  Cook for another 2-3 minutes or till veggies are cooked to your liking. 
  • Finally add the pasta - once your pasta is finished cooking, per the box directions, drain the water and dump the pasta in the skillet.  Add another 4 tablespoons of miracle whip and a bit more spices, I added 1 tablespoon of Mrs. Dash.  Toss to coat the pasta.
Serve! 

I serve it with corn bread (the hubby's favorite) but any kind of heat and serve roll will do. 

Options - you could substitute rice for the pasta, just cook the rice first.  You could also serve over mashed potatoes (my husbands favorite way to eat this).  You can also top with parmesan or other type of cheese. 

The taste has a zip or tang to it but you don't taste the miracle whip as it acts like an oil in this dish. 

Let me know if you try this. 
Remember to follow me on Facebook -
https://www.facebook.com/pages/Dragonflies-and-Thistles/491393717621010
Just a like or share or comment will keep the updates in your newsfeed. 

Have a great 'hump' day! 
Victoria

Sunday, February 16, 2014

Dollar store glass planters

Here is another easy craft that you can do to bring some spring into your home. 

Here in Colorado we haven't had the worse winter but we've had a lot of cold, cold days in a row.  Minus 9 without the wind chill as a high for the day has been unusual for us.  Believe it or not the front range really does have mild weather.  The mountains usually get most of the snow and we live in with mild temperatures all season long.  Nothing like where I grew up in Maryland with the heat and humidity and cold, snow and ice for months at a time. 
Being tired of the cold I decided I wanted to rush spring along. Now here in the Rockies spring doesn't normally come till May but I can wish. 

This easy craft is completed using parts from the dollar store.  I bought 2 vases and 2 candlesticks. 
I also purchased some rocks in a bag, 2 succulents from Home Depot, soil and the best glue I've ever worked with, E6000.  This stuff will glue anything!  BUT, it's like airplane glue so make sure you are in a well ventilated room otherwise you may get a bit of a buzz. 

As you can see in the photo above, I bought two different size vases or jars but the same size candlesticks.  I wanted the little gardens to be different heights without using books or a riser. 

Step 1 - fill your vase with some rocks, about 1 inch in depth.  You can use charcoal if you'd like.  You are basically making a drain pocket for excess water. 

 Step 2 - fill the vase with dirt. 
Step 3 - place your desired plants in the dirt and water them. 
Step 4 - fill the top with more stones/rocks to keep the dirt in place. 
Step 5 - glue the top of the candlestick to the bottom of the vase.  Follow the directions on the E6000 glue but you just more or less run a bead of glue on the rim of the candlestick and place the vase on it.  DONE.


 Here is what I did with them for Valentine's Day.  I added red ribbon, one with just a simple knot around the widest part of the vase. 
 The smaller one I put on the mantel and tied the candlestick part with a red and white ribbon with a bow. 
  I water them weekly and they have been doing fantastic.  You can use any type of jar to make this little terrarium.  You could use one that has a lid like an apothecary jar, that would be really cute. 

Cost - $4.00 for the glass pieces at the dollar store.  $1.00 for the bag of pebbles from the dollar store, (You would even use colored stones instead of real ones if you'd like to change it up).  I had the soil on hand from last springs summer planting. I had the E600 glue already as well but that runs about $8.00 at ACE hardware.  The plants were $5.00 for the jade plant - it had 4 small plants in the container.  The other small succulent had 2 plants in the container and was $7.00.  I don't know why the little ones were more.  So this craft was a total of $17.00 for me.  You can use any type of plant, I just wanted ones that wouldn't need a lot of water and had shallow root systems but you could use any kind of plant. 

I hope you try to bring some spring into your house this cold winter.  I'd love to see your pictures! 
Till Wednesday.
Victoria

Friday, February 14, 2014

Valentine decorations

I have mixed feelings about Valentines Day, while the theory is really nice, I don't think anyone should need a special day to show someone they care about them, that is something that should be done 365 days a year on some level.  At the same time my kids love getting Valentine's from friends and really get excited when my husband brings home flowers for the girls, it makes them feel extra special. 

I do decorate for Valentines Day, I have decorated my house for every holiday and season since the kids were little.  They use to love helping me get the decorations out of the boxes and putting things up.  The decorations aren't as elaborate as say Christmas, Thanksgiving or Halloween but there are hints of the holiday around the house. 

You have already seen hints of the mantel in Wednesdays blog but here is the full view.

I've had the Winnie the Pooh for years.  He's adorable!
The LOVE canvas tutorial is here
http://dragonfliesandthistles.blogspot.com/2014/01/valentines-day-craft.html

I will show everyone how I made this glass planter on Monday!
If you like this string of hearts, the tutorial is here..

 
I also decorated my buffet, with it's sad broken leg.  I am still hoping to get a replacement and change the legs out to shorter ones and re-use the buffet downstairs as a TV and media stand.  I'll paint it if I do that as well, I just have to locate a replacement first! 
I also decorated my living room shelf.  I made the chalkboard sign before Christmas.  Dollar store silver tray and the leftover chalkboard paint that I had bought for the kitchen door...


Then there is the entry table. 

The cheap LOVE bag craft ended up here...
If you'd like that tutorial here is the link
 
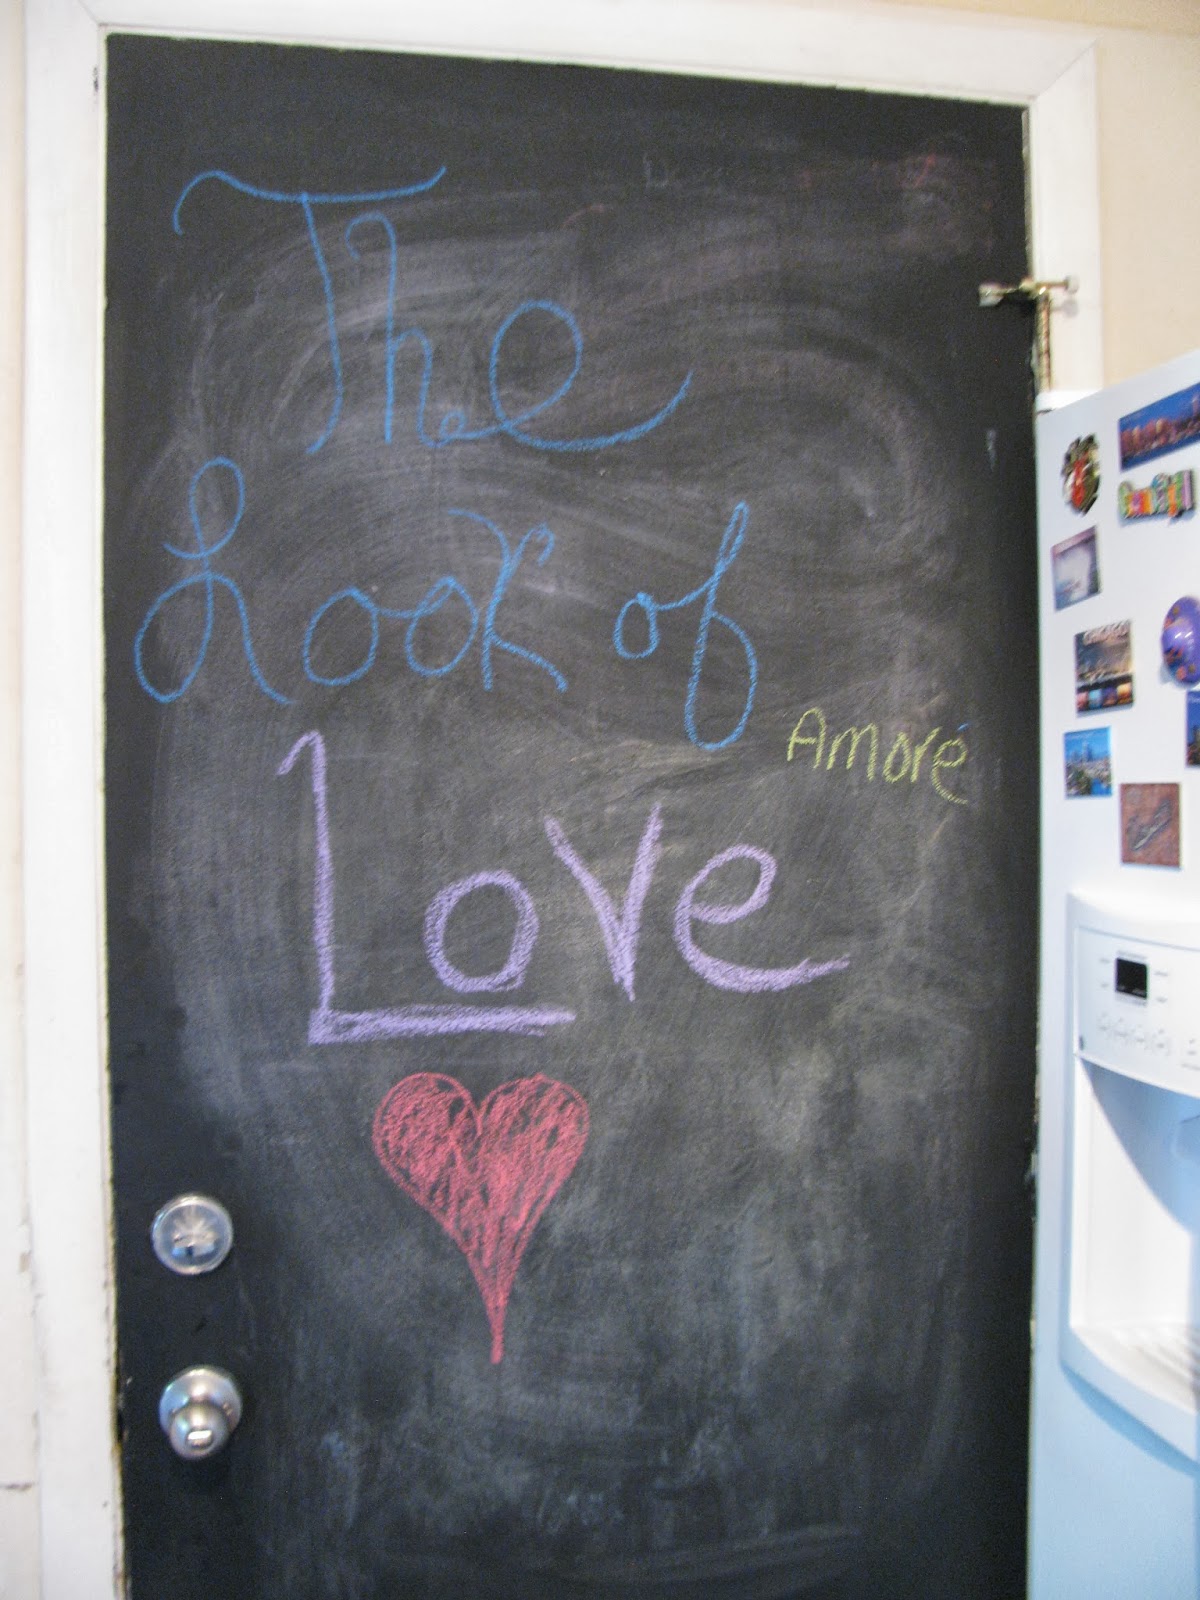
I also decorated the kitchen chalkboard door.
 

Then I have some paper hearts that I put around on mirrors and furniture and that is it!


Thanks for taking the tour! 
On Monday I'll show you how to make the glass planters so make sure you check back! 
Next week I'll also be talking about mixing your metals.  Gold and brass are making a comeback in decorating!  Then I'll show you another craft that you can personalize.  I'm getting this one from Michael's and you won't believe how easy it is to do.  Super cute too! 

If you follow me on facebook -
https://www.facebook.com/pages/Dragonflies-and-Thistles/491393717621010
and interact with my page, you can I really appreciate the support!

Happy Valentines Day everyone.  I hope you have a wonderful day and weekend. 
Victoria