Monday, May 18, 2015

Colorful Colorado

It has been a very hectic week here.  Between the rain and snow and more rain and hail I haven't had a chance to work on any craft or project worth sharing.  I feel like I've been transported to Washington state or something, everything I own is damp, our basement keeps flooding because of our torrential rain and hail, did I mention that I drove home last week in a foot of hail?  Yep that was fun, interstate closed while the city got the snowplows out to remove all the hail. 

The calendar says May but here in the Rocky Mountains we are back to February.  If you don't believe me just take a look at this Rocky Mountain National Parks video.  The park service is trying to clear Trail Ridge Road for the Memorial Day weekend, good luck!
http://www.nationalparkstraveler.com/2015/05/clearing-snow-trail-ridge-road-rocky-mountain-national-park-video26624

A bit closer to my home, right out my back door is Pikes Peak, America's mountain.  Take a look at the webcams...
https://parks.coloradosprings.gov/pikespeak
This is normally how Pikes Peak looks this time of the year with Garden of the Gods in the foreground. 

This what the webcam looked like when I was writing.
Snowing so much with the wind that there are blizzard conditions.  As I look out my back door I can't see the peak for the clouds and it is raining again.  Is it time to cry or build an ARK? 

This is depressing so I thought I'd share a bit of what Colorado normally looks like.  It is a really beautiful state.  Normally, really normally we have 360 sunny days a year.  The weather is normally very mild throughout the year.  Most homes here don't even have central air conditioning it is just that mild in most places.  Pueblo can get hot, over 100 in the summer for a few days but here in Colorado Springs we are lucky to get 5 days of 90 or 90+ in an entire summer. 

There is a lot to do in Colorado, the obvious - skiing and snowboarding but there are other winter activities as well.. snowshoeing, snowmobiling and cross country skiing to name a few.  In the summer you can hike, bike and travel scenic highways that take you through mountains and lush valleys.  There is fishing, ATV riding, camping and hunting.  We also have a variety of wild animals to see, I simply love the sound of Elk in rut in the fall, their bugling is piercing in the still night. 

This is a view of Pikes Peak that many don't get to see, it is the back of it taken last weekend.  It was a partially sunny day so my husband and I got out of the house and went fishing.

He belongs to a fishing club and the setting is really beautiful.

 
This is Grand Lake Colorado:

Colorado has more mountains above 14,000 feet than any other state in the continental US - Alaska is the only state with more. 
If you want to get away, see more stars than you ever thought possible, be alone in nature or feel the sun and a cool breeze on your skin then you should visit Colorful Colorado. 

Thanks for stopping by.  I'll be taking next week off.   Have a safe and happy Memorial Day.  Take time to remember those who served and gave the ultimate sacrifice to keep our liberty and freedom safe. 
I'll be back the following week with another cheap and easy craft.  Until then, Stay Safe!
Victoria

You can always follow me on Pintrest
https://www.pinterest.com/vicdenniso/

Facebook -
https://www.facebook.com/pages/Dragonflies-and-Thistles/491393717621010?ref=hl

And right here on the blog
WWW.Dragonfliesandthistles.BlogSpot.com

Monday, May 11, 2015

Marble mugs

This craft cost me $2.00; yes that isn't a typo - TWO DOLLARS!
How cute is this!

I saw this on Pintrest and after reading how it was done I thought, NO WAY! 
I was expecting to write a Pintrest FAIL blog today but I am here to tell you - THIS WORKS!
You will need:
White mugs - I got these at the dollar store - hence the $2.00
A large tin - you will ruin this so don't make it something you need or are attached to
Warm tap water
Nail polish - your choice of colors
Nail polish remover
A couple of paper towels
A couple of Q-Tips


Let's begin.
Step 1 - Fill your large tin halfway full of warm water
Step 2 - Shake your nail polish and drop several drops in the warm water in a circle

Step 3 - Dip your mug into the colored water - you will see the color come off the warm water like a sheet of paper. 
Step 4 - Be amazed at the results!
I used the nail polish remover to get rid of anything I didn't like or large spots using either the paper towels or the Q-Tips.  I also cleaned the bottom of the mugs with the nail polish remover.


The beauty of this craft is that if you don't like the outcome, wipe it off using the paper towels and the nail polish remover and start again!  I played with mine several times before I got the look I wanted. 

I then let them dry overnight.  I would NOT put these through the dishwasher, hand wash only.  I did wash them by hand and after the overnight dry the color did not come off. 

An easy craft that some older kiddo's could even do. 
Plus these would make great gifts, stuffed with a hot chocolate packet and a peppermint stick or loaded with candy, even pens or pencils for a teacher appreciation gift - so cute! 


I hope you try these yourself!  Let me know your results. 

Thanks so much for stopping by.  I appreciate the read.  I'll be back next week, until then, stay safe!
Victoria

You can always follow me on Pintrest -
https://www.pinterest.com/vicdenniso/

Facebook -
https://www.facebook.com/pages/Dragonflies-and-Thistles/491393717621010?ref=hl


Monday, May 4, 2015

A spring garden in Colorado

Today I thought I'd share what a spring Colorado garden looks like.  Usually May is the month where things just start to bloom, trees get their buds and early spring flowers begin their flowering while hoping the snow holds off and doesn't kill them. 
I have two gardens one in the front of the house and one in the back.
The above picture is of my lilac bush in the back garden.  It usually doesn't bloom until the end of May but with the warm weather we've had in April it is crazy loaded with blooms and simply beautiful even if it is almost 4 weeks early. 

Here is my pink peony bush.  It is in the front of the house with morning sun so it takes it a bit longer to get going but once it does the pink blooms are so heavy I end up tying a string around it or putting a small fence around it.  Otherwise the blooms will drag the ground.  I love peonies.  They are easy to take care of, you only need to cut the dead stalks to the ground in the fall and wait for them to come up again next spring. 

They do need a bit of room to spread out though; as you can see my boxwood has gotten really big and is starting to crowd it out. 

I have more ornamental bushes across the front of my house.  It is simply for the ease of the owner, ah that would be ME!  I have several Prince Albert Dwarf Spruce trees, the boxwood and peony bush along with a variegated boxwood that as you can tell from the above picture didn't do well this past winter and this red bush with thorns on it.  Sorry I don't know what it is, I bought it to bring some color to the front along with the variegated boxwood... this bush did much better than the boxwood.
I do have some bulbs planted in there, tulips, daffodils and calla-lilies.  To add another pop of color I always buy a flat of different colored pansies to plant around. 
In the backyard I have a bit more space so I can test out a lot of bushing or climbing plants to see what works, what I like and what needs to be dug up and given to a relative. 
You've seen the lilac bush already...
I've also got this bush, I have no idea what it is but it is crazy cool!

I got it last year at a nursery here in Monument Colorado along with a honeysuckle and clematis.  They are both doing great as well.
 
The clematis is the shorter and thinner of the two.  I don't expect it to bloom this year but I do expect the orange honeysuckle to bloom any day now. 
I also have the Colorado state flower, Columbine.

They come in a variety of colors including pink and purple.  They are very delicate flowers but really pretty.
I also have this little bush, again I got it last year and when planting I didn't save the identifier tags that come with the flowers... I really need to start doing that.
Also planted back here is a variety of bulbs including dahlias (they won't come up till July), tulips, daffodils,  grape hyacinth, lily of the valley and these cool looking guys. 
They will get big purple pom-poms on them. 

I also throw a variety of flower seeds that attract hummingbirds and butterflies and just throw some Happy Frog soil over them and a bit of water and by summer I'll have wildflowers growing like crazy.  I buy the flower seed at Home Depot.  Finally I've got marigolds.  I've talked about self seeding flowers before; I think they are your biggest bang for your buck as they will re-grow over and over.  I will harvest the seeds of many of my wildflowers and move them around my garden to get better exposure for them.  Part of my garden gets only late afternoon sun while other parts get all day sun.  Some flowers do better depending on the sun exposure so I will move things around. 

Oh, I also bought this at Home Depot a few weeks ago.  Once it gets moving in the wind it is very cool.
My husband put it where our old dead tree was for now.  If you live in a windy area and find this at Home Depot I'd get it, it really does look amazing still and moving. 

Thanks so much for stopping by!  I'll show my garden some more once things grow a bit.  I'll let you know what is working and what isn't. 
I appreciate your support.  Don't forget you can follow me on Pintrest and Facebook.  I'll provide the links below.
Until next week, stay safe.
Victoria

https://www.facebook.com/pages/Dragonflies-and-Thistles/491393717621010?ref=hl

https://www.pinterest.com/vicdenniso/


Monday, April 27, 2015

Industrial Chic Jewelry Hanger

I have seen these jewelry holders around Pintrest in copper and since I really like the Industrial look I decided to make one myself.
I will walk you through it step by step. 
I used 1/2 inch Galvanized Steel pipe parts but you could use copper.  You can also make it any height you want.  This one is big - 18 inches tall. 

To replicate it as I have above you will need the following:
1 piece of wood for the base - I used a 1x4 pine board and stained it
Stain of you color choice for your base or paint of your color for the base
4 screws
2 'T' joints for 1/2 inch galvanized steel pipe
3 end caps for 1/2 inch galvanized steep pipe
1 length of pipe 12 inches long of 1/2 inch galvanized steel pipe
4 lengths of pipe 6 inches long each of 1/2 inch galvanized steel pipe
1 galvanized steel base that will fit 1/2 inch pipe

Now lets put it together!
Step 1 - start at the bottom with the base - into that screw one of you 6 inch long pipes.

Step 2 - screw in one of you 'T' joints


Step 3 - on the horizontal opening screw in another one of your 6 inch pieces of pipe
Step 4 - Place one of your end caps on the end of this piece

Step 5 - Now screw your 12 inch piece of pipe into the other end of the 'T' joint
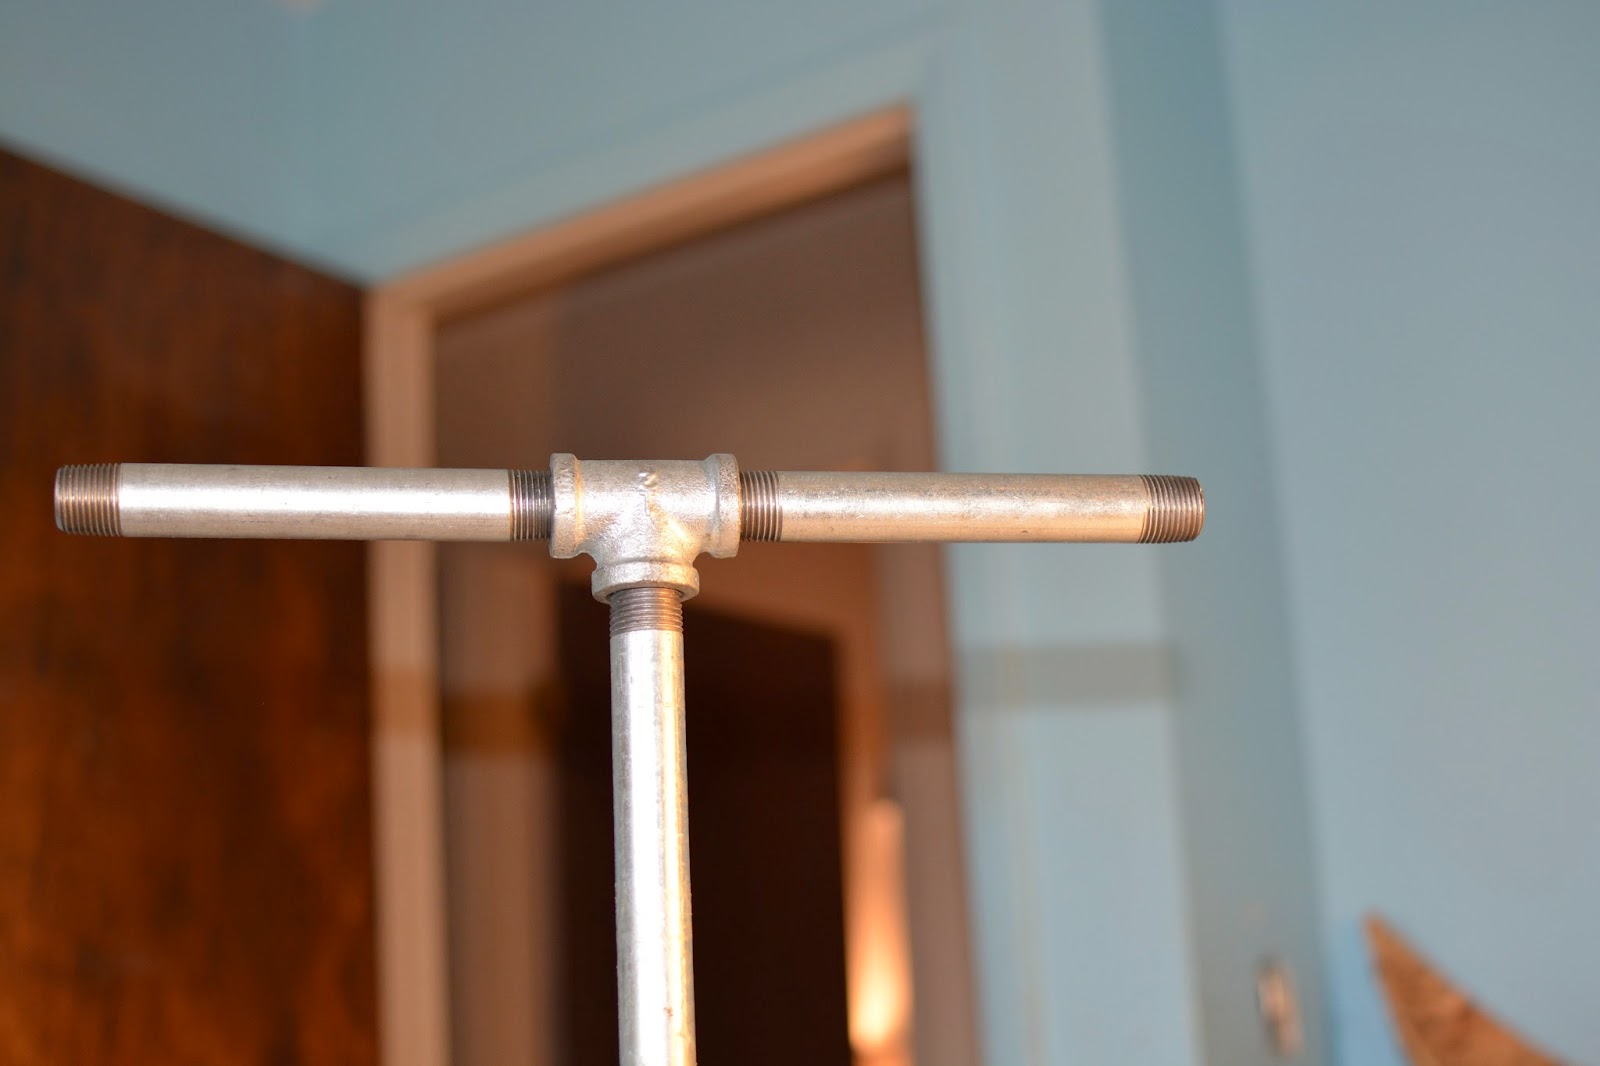
Step 6 - Take your final 'T' joint and screw it into place at the top
Step 7 - You should have 2 pieces of 6 inch long pipe left, screw each one into the open ends of the 'T' joint
Step 8 - Add you last 2 end caps
Step 9 - Cut your 1x4 piece of pine wood to whatever length you want.  I made mine a bit longer so I could put a dish underneath to hold rings or ear rings. 
Step 10 - Stain your 1x4 piece of wood to whatever color you want.  You could even forgo the stain and paint the wood! 
Step 11 - Secure your jewelry hanger to your piece of wood using screws through the base.
DONE!
Super cute and a great gift. 
Let me know if you make one, I'd love to see others and how they all turn out.

Thanks for stopping by; I truly appreciate the support. 
I'll be back next Tuesday.  Until then, Stay Safe!
Victoria

You can follow me on Pintrest -
https://www.pinterest.com/vicdenniso/

Facebook -
https://www.facebook.com/pages/Dragonflies-and-Thistles/491393717621010?ref=hl

And right here on the blog!
www.dragonfliesandthistles.BlogSpot.com

Monday, April 20, 2015

Coaster Craft

Do you want and easy and inexpensive gift for someone but want it to look like you spent time and money on it? Well if you answered YES then have I got the craft for you!


Cute coasters!
You will need:

A set of tiles.  I used Travertine 4x4 tiles that I got in a pack at Home Depot for $3.78
A stamp of your choice (I had mine on hand)
A waterproof stamp pad - color of your choice (I used black)
1 can of spray sealer $3.00
A length of twine
Felt pads for the bottom of each coaster - I bought a pack of 24 for $1.00 at the dollar store


Ok are you ready!?
Step 1 - If your tiles are in a pack like mine, remove them from the plastic.
Step 2 - I wiped mine off, you don't have to but I did as mine felt sandy
Step 3 - Open your stamp pad
Step 4 - Take your stamp, push it onto the stamp pad then stamp it onto your tile. 
I placed mine in a random pattern; you could try it out on a piece of paper first to see where you like it or just go for it!  You can use more than one stamp per piece of tile - let your imagination fly!  Don't worry about being precise or getting the ink even - I really like the worn look. 
Step 5 - Stamp all of your tiles and sit them out to dry, a minute or two is good enough.
Step 6  - Spray each tile with the sealer.  Now you don't have to do this step; the waterproof ink from the stamp pad should be good.  I sprayed mine because Travertine is absorbent.  I then let the spray dry.
Step 7 - Put a felt pad on the bottom corner of each tile (you'll use 4 for each tile)
DONE!


I tied mine with a piece of jute twine as they are going to be a gift. 
So for less than $10.00 I made these and now that I've got all the items I just need to buy more tile to make more for an even cheaper price.
Options I have thought of since I made these:
- Using wood  
- Using porcelain tile
- Using porcelain tile and painting them with chalkboard paint

What do you think? 

Here is a teaser for next week... wait till you see what I made out of this!
And NO, it isn't a live action Clue game! 

Until next week,
Stay Safe!
Victoria

Thanks so much for stopping by!  I appreciate your support.
You can always follow me on Pintrest -
https://www.pinterest.com/vicdenniso/

Facebook -
https://www.facebook.com/pages/Dragonflies-and-Thistles/491393717621010?ref=hl

And right here on the blog!
www.dragonfliesandthistles.BlogSpot.com

Monday, April 6, 2015

Picket Fence Shelf

I made several of these picket fences a few years ago after seeing one at a craft fair for $50.00.  It is actually a shelf!
I forgot how cute it was until I found it in the attic right before Easter. 
It was easy to make and sure looks good on my mantle!
To make this cute shelf you'll need the following:

1.  Wood - I used  several 1 x 4 pine boards for the pickets.  You could use particle board or heck you could use picket fencing! 
2.  I bought a 2 x 4 for the bottom shelf part and 2 - 1 1/2 X 1 1/2's for the small shelves. 
3.  Paint.  I originally painted my piece green, I was into green last year.  As you can see I painted it white this year.  A drop cloth if you are messy like me and a large paint brush. 
3.  Nails - You'll need 1 - I put it on the top shelf and the wreath is hanging off it.
4.  Screws.  I wanted this piece to be durable and sturdy so I used screws to hold it all together. 
5.  Wire or a picture hanging kit to hang the piece.  I used screws and wire. 

The tools you'll need are - a pencil, a saw (my husband used a miter saw), electric drill and electric sander, a level, right angle tool, ruler and finally a hammer. 

Lets get started!

Measure out your piece.  You need to decide how tall you want your piece and how many pickets you want it to have.  Mine is 24 inches tall.  I then cut each piece of 1 X 4 wood 24 inches from the bottom and sanded the rough edges.
Now you want to measure how wide you want your pickets.  To make mine easier I used the width of my boards so mine are each 4 inches wide.  I made mine 4 across but you can use as many pickets as you want. (NOTE - they are still square at this point).
Next I decided I wanted the 'dog ear' look so using a ruler and a right angle I drew an angle off the top of each piece and cut that out using a miter saw.  I sanded all these 'pickets' down with an electric sander.

Now to make the shelves! 
I laid the pickets down on a flat surface and spaced them using another piece of 1/4 wood.  You can make them however close or far apart you want them.  I made one of these for my Mother-In Law and put them closer together so I used a nail as my guide.
Next I measured my total width of my piece; mine is 17 1/8 inches wide now including the spaces.  I cut my 2x4 that length and sanded it down so there are no rough edges.  Then I cut both of the 1 1/2's the same length, sanded and set aside. 

Putting it all together. 
Using an electric drill and the screws I then screwed everything together starting at the bottom.  I put 2 screws in each picket and secured the bottom of each picket into the large 2 x4 on the 2 inch side (you are making a flat shelf).  Make sure you are flush at the bottom!  REMEMBER YOU ARE WORKING BACK TO FRONT. 
For more stability I then screwed one of the 1 1/2's using the same method to the middle of the pickets using 1 screw for each picket.  I checked my level using a leveler at this and the next step.  Finally I screwed the last 1 1/2 a third of the way down from the top of the picket again using 1 screw in each picket. 

Turn your piece over at this point and amaze yourself! 
Now I added a small nail to the top mini shelf right in the middle.  You can do this or you don't have to.  I used this to hang my DIY boxwood wreath. 

OPTIONS - you can make it look like a real picket fence and not do the 'shelves' on it and instead use boards to make an X across the piece.  This could be pretty cute and decorative on a wall if you went big with it.  You could also make each shelf as wide as I made the bottom one.  Be creative!  Whatever you think you can do you can! 

Painting is next.  Originally I painted mine green.  I was really into green at the time.  I decided to paint it white and sand some of the white off to show green and clean wood underneath. 

My final step was to be able to hang it.  Using my picture hanging screws and wire I created a loop to hang the piece when done. 

SOOO cute! 
I will tell you that it does take a bit of time to complete this craft.  It took my husband and myself about 2-3 hours with sanding, painting etc. 

If you have any questions PLEASE email me and I'll try to answer them as best I can.  Unfortunately I don't have fancy design software to show you each piece in a blueprint style. 

Thanks for stopping by.  I really appreciate you reading this and for your support. 
I'll be back next week with a coaster craft that is super easy to do and will look so cute on your patio this summer! 
Until then, stay safe!
Victoria

You can always follow me on Pintrest -
https://www.pinterest.com/vicdenniso/

I am on Facebook but not as active, but if you like my weekly posts and make a comment weekly you'll see me in your newsfeed every Tuesday!
https://www.facebook.com/pages/Dragonflies-and-Thistles/491393717621010?ref=hl

Or you can follow me right here on the blog!
www.dragonfliesandthistles.BlogSpot.com

Monday, March 30, 2015

Spring Tablescape

I love decorating my dinning table.  I think of it as a blank slate that I can decorate as I please, there are no rules for me when it comes to table décor.  I want my guests to come in and take notice so I'm not adverse to over the top themes.  One Christmas I hung cut pine branches from my light fixture! 

This spring I decided I wanted to mix elements, white with glass and possibly wood.  Now how do I do that?
Here is the end result.
So how did I get there?  Follow me and I'll show you how!

I went to my local big box lumber yard and bought 1 long length of pine.  I chose pine because it is cheap but versatile.  If you don't like the knots in pine choose another type of wood or MDF.

Warning, if you do this, take someone with to the store, otherwise there you are in the parking lot struggling to fit the long board in your vehicle.  Luckily I have a truck but it took me putting seats down and doing some maneuvering to get this crazy thing in. 

Next and very important, measure your table so you know how long to make your centerpiece but first and foremost SET YOUR TABLE.  Yep I mean placemats, dishes, glassware etc.  Now measure between the table settings.  Otherwise your piece will be too long and you won't have room for your dishes. 
Now take that measurement and transfer it to your wood board.

To get a straight cut use a square and make a line across the board.

Make the line dark enough so you can see it.

Now cut the board. My husband gets a bit nervous when I use power tools so he cut the wood for me.


Next I sanded my piece with a hand held electric sander.
I made sure all my edges were nice and soft. 

Now comes the fun part!
Beat your piece of cut wood up.  I threw it on the ground, I cut it with a knife, I threw stones at it, smashed a chain against it and even had my husband take a gas powered saw to it; all just to make this new piece of wood look older.  Then I sanded it again just a bit to make sure there weren't any rough edges. 
Next I painted my piece.  If you don't want the knots on the pine showing you will want to use a primer or paint it white first.  If you don't care you can just paint it.  You could also stain the piece instead of painting it.  Since I wanted a fresh look I chose to paint mine white.
 You can see the scuffing I did to the piece above. 

See that other piece there that looks like a fence?  I'll show you how to make that next week! I used the same pine piece as I had a lot leftover.

After the paint dried I chose to sand it again to remove some of the paint color.  If you don't want to do this you just skip this step! 
After I saw the effect of re-sanding I was a bit sad that I didn't stain or paint the piece a different color first, then paint white over it.  It could have been more dramatic and it would have made the wood look older. 

I then wiped the wood down with a damp rag. 
Now I'm ready to start my tablescape!

I started with this sweet bunny tablecloth that I got at Target years ago, sorry it is no longer in stock.
 Then I placed my piece of wood in the center. 

Next I needed to decide what to put on the centerpiece.  I decided I wanted something natural and since we chopped a half dead tree down last August I thought I'd utilize what I had to create levels on the table.
TIP - creating levels helps keep the eye moving and keeps visual interest in the piece.  This is true for a table as well as a buffet or mantle or shelf etc.

I had my husband cut me two different kinds of wood.  The first was about 2 inches thick and was a wider piece of wood.  The other is about 6 -8 inches thick and is a smaller piece.
I did nothing to them, they are raw.
Next I decided what elements I would put on my table.  Faux flowers in a vase, lots of bunnies, a couple ceramic mushrooms, a glass hurricane and an outdoor piece of garden art.

I need to get a candle for the hurricane.   I bought this hurricane with the bunnies on it a Kohl's last year.  

 The dish with the bunny laying on its back is from Pottery Barn a few years ago but they still carry this cute little dish.  I put jelly beans in mine. 
The other bunnies I got from Hobby Lobby along with the white finial garden art and the mushrooms. 
The small glass vase with the flowers in it is from The Dollar Store. The flowers I had on-hand.

Pretty darn cute huh and EASY! 


Thanks so much for stopping by.  I'll be back next week to show you how I made this picket fence shelf that is on my mantle.
 
Until next week, Happy Easter.  Stay safe, Victoria
 
You can always follow me on Pintrest -
 
I'm on Facebook as well, though not as active here -
 
You can also follow me directly on the blog and you'll get an email when I post!