Wednesday, September 10, 2014

Fall Buffet

I hope everyone is having a great week!
Here in Colorado it has been getting cooler and cooler.  They had snow in the mountains last night and it snowed on Pikes Peak today!  I live at the base of Pikes Peak in Colorado Springs and we are expecting our first freeze of the season Thursday night and Friday night.  Time to bring in my plants for those overnight freezes!  Luckily, or unluckily it won't last long and it is supposed to be in the 70's for the weekend with overnight lows only in the 40's.  Fall and winter just can't get here fast enough for me!

Today I am sharing my buffet.  I've got this hand me down antique buffet from my grandmother, actually I've got the whole set, the smaller version that I call a server (we use it for a liquor cabinet) and the china cabinet and the table with 4 chairs.  None of these pieces has a nail in them, they are all dowel and holes to hold them together.  I love these pieces but hate them at the same time, they are heavy and big, really big and I've got a small space.  If you have been following me, yes, this is the buffet with the broken leg, and yes, it is still broken and held together with black duct tape. 

So the rules that I follow to decorate a flat surface again are.
1 - some symmetry.  I don't particularly like matchy-matchy but you do need some symmetry
2 - vary your heights and your depth- this keeps the eye moving
3 - group thing in 3's as it is more pleasing to the eye
4 - layers, layers, layers.

So here we go. 
I started by laying down an orange runner that I got on sale a few years ago at Pottery Barn.  I then added a lamp on one end.  I set the lamp on some old books that I painted white and stamped.  For some symmetry I added a Yankee Candle tart burner at the other end.  In the middle I put a box I found at Hobby Lobby.


 Next I placed a faux garland down. 
This was my starting point.  I then started adding hale bales, faux pumpkins, more garland, pinecones and rocks to the mix.

The lamp and shade I got at Target last year.  You'll notice an empty iron holder there... I have printed off a fall print, I just need to get a dollar store frame and fix it up.  This is it!  Remember to keep stepping back and look at what you're doing to see if you like it.  You'll noticed I varied the height of things, did a lot of layers and grouped things in 3's.  I've got some symmetry with the lamp and the white pumpkin. 
Let me show you how I did it on the shelf above the buffet.  Here is where the shelf sits.


I added a layer of faux wheat and sticks.
Then I added my fall blocks I made.
Next I added something for height.  I bought this fake silver tray at the dollar store and painted the middle with chalkboard paint.  I wrote some fall things on it.  I added a fall 'face' that I've had for years, a new little fox from Gordman's and a glass jar of rocks I've collected on one of our many hikes.
This is what the entire shelf looks like.
You'll notice I made it more heavy on one end.  This is on purpose as it sits so close to the buffet and the height of the lamp is so close if I made it heavy on the close end it would look unbalanced.  I tried it and I didn't like it!  Remember if you like it then it is PERFECT.

Now let me show you my box on the buffet.  I could make a box and do the same thing but it was on sale so cheap, $2.00 I think with my coupon that I couldn't pass it up. 

All the faux pumpkins are from Hobby Lobby.  I either shop the sales or the end of the season when all the things are dirt cheap.  Also if you have a smart phone each month Hobby Lobby has an online coupon for either 20 or 40% off one item!  They'll take it right off your phone! 
So how did I do this? 
Excelsior.  Now this is messy, I mean really messy but it is a great way to 'lift' things in a box or a bowl. 

I filled the box with the Excelsior then placed my pumpkins in them. 

You could use real pumpkins and or gourds but first make sure you wash them with some bleach so they don't rot as fast.  I used fake.  You use the same idea for decorating your box as you do for any flat surface, layers, vary the height and some symmetry. 
This is what I finally ended up with.
Just keep playing with it, adding or taking away until you get what you like.  I added some faux pumpkins to the front and sides to give the box weight and relate it to the rest of the table. 

I hope you try decorating flat surfaces in your home. 
Next week I'll show you my dinning table, my outdoors and how I bring a bit of fall to almost every room in the house.  Don't confine your seasonal décor to just one room, spread it around. 

If you have any questions just shoot me an email, I will respond promptly.  Thanks for stopping by.  I hope you come back again soon.
Have a great weekend.  Stay safe!
Victoria

As always you can follow me on Pintrest -
http://www.pinterest.com/vicdenniso/

And Facebook -
https://www.facebook.com/pages/Dragonflies-and-Thistles/491393717621010

Or right here on the blog!
http://www.dragonfliesandthistles.blogspot.com/

Monday, September 8, 2014

Fall Mantel

Happy Tuesday!
This will be my first week back to blogging twice a week.  In September, I'll be sharing fall around my house, tips and food every Tuesday and Thursday.  I hope you come back and visit! 

This week I'm talking fall.  I can't wait!  I love the smell of the air during the fall, not to mention the jewel box colors that come out.  Here in Colorado we don't usually get orange or red's but the mountains do blaze with bright yellow Aspen and Cottonwood tree's amongst the green of the pine.  We already have signs of yellow in some area's, way ahead of schedule. 
If you remember last year I shared some fall colors in Colorado here...
http://www.dragonfliesandthistles.blogspot.com/2013/10/fall-in-colorado.html

Now for my house, decorated for fall.  First up I'd like to show you my mantel for 2014.  But first let's refresh your memory, this is last years fall decorating-
http://www.dragonfliesandthistles.blogspot.com/2013/09/fall-decor-part-1.html

This year I wanted to do something different but still use what I have and not spend a whole bunch of money.  I limited myself to $50.00.  Here is what I got, all on sale I might add or purchased with coupons. 
 - A Yankee melter.  I don't know what else to call it.  They are new, electric and some have timers.  I also bought 3 candle melts for the unit, all fall (pumpkin, fall leaves and farmers market).   I had a coupon for $20.00 off my purchase.  I think I got all of these for $25.00
- A print that says 'Autumn'.  I got it from Kirkland's, $12.99
- 3 small ceramic foxes.  I got them at Gordman's and I had a 20% off my entire purchase.  Each fox was $6.99. 
- A large boat shaped reed basket.  Also from Kirkland's.  The basket was $19.99 and I had a coupon I got online for 20% off. 

So let's start with the mantel.
My dilemma is always, "how do I decorate it so it doesn't look like a bunch of things just lined up?"
My other problem is that my mantel is long and the fireplace is big and dark and the mantel itself is dark.  Ok that is more than one problem but who's counting! 

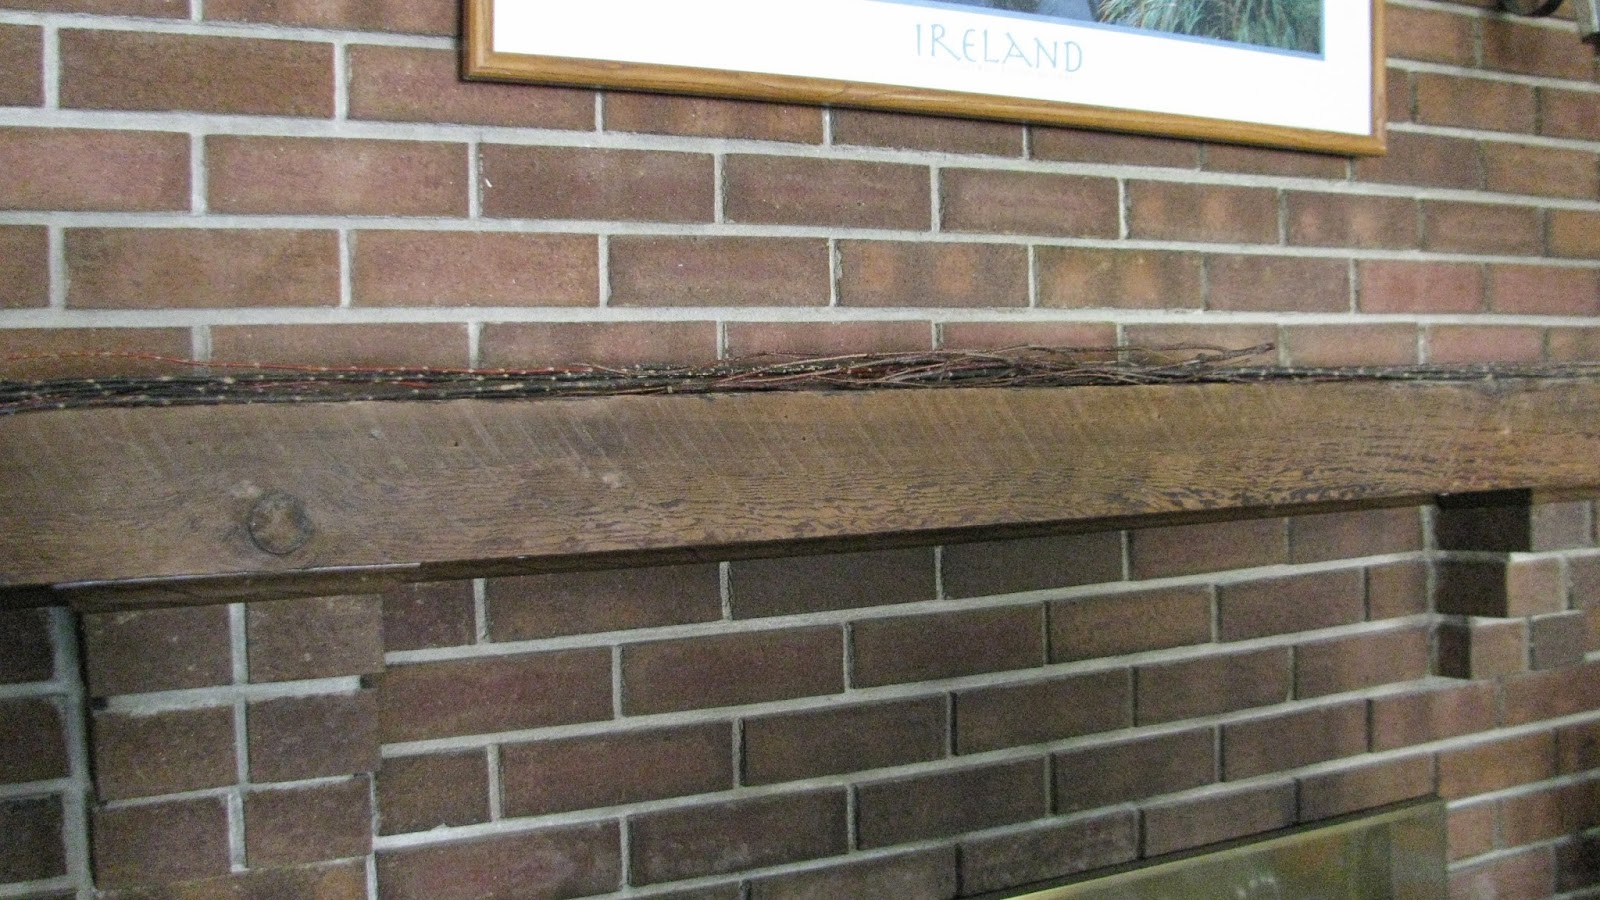
So first start with a clean and clear surface.
 First step is to add some layers.  This is really the key to everything, layers, layers, layers.  I had bought some sticks from Hobby Lobby years ago.  I split them in half and laid them lengthwise on the mantel.  Half one way, half the other.  I let them fall out over the edge of the mantel. 
 
I broke some sticks in half and laid them in a bunch in the middle. 

 Next I added a faux leaf garland, right over the sticks. 
 Now for some balance.  Personally I don't like things that are matchy, matchy or things that are perfectly balanced.  The idea for a mantel or any flat surface is to layer things, group things in 3's and vary the heights.  This keeps the eye moving. 
I had the metal basket from Southern Living at Home and I filled it with a faux pumpkin and placed another on top.

 Now for the other side of the mantel.  I took 2 glass jars I made last Valentine's Day (I had originally planted some small plants in them but have since transplanted them).  I filled the taller vase with some faux colorful things - Hobby Lobby, and the other with a faux pumpkin.  Remembering the rule of 3's and varying the height of things I then took a candlestick and just placed a small pumpkin on it.  I then added the white pumpkin for a pop of color. 
Now back to the other side.  I printed the picture from the internet and put it in a dollar store frame last year.  I added this and placed it on a large flat rock I had to give it some height.  I then added the silver candlestick and placed a small Southern Living at Home metal basket on it and stuck a pumpkin in the basket. 
 Remember to step back with every few items you add to see if you like what you are seeing.  I ended up moving the silver candlestick forward in the arrangement as I thought things were looking too flat. 


 Next I added the 'Autumn' print right in the center. 
 
I thought it needed something else so I added a hunk of red rock I found on my Arizona trip in April to the mix.  The color is good for fall.  This is what I came up with. 

The guidelines can be used for decorating any surface.  I used the same rules for my table and buffet.  I'll be sharing those later. 
So remember the guidelines. 
- Vary the heights to keep the eye moving
- Vary the depth, bring some things forward in the display more than others.  You can even drape things off the surface as I did with the garland.
- Layers, layers, layers
- The rule of 3's

I hope you try these at home!  Thursday I'll be sharing these same rules and show you how I decorated my buffet for the fall.  Next week it is the dinning table, other flat surfaces and how I bring a touch of fall to every room in my house.  Then we go outside so I can show you my front and back yards and how I bring fall to them as well. 

If you have any questions about decorating a flat surface, please don't hesitate to reach out to me.  It took me a long time to learn this and I still mess up but I persevere!  The best thing is that if you don't like it, you can change it!  And if you love it then it is perfect. 
Thanks for stopping by.  Have a good week.  Be safe!
Till Thursday,
Victoria

As always you can follow me on Pintrest -
http://www.pinterest.com/vicdenniso/

Facebook -
https://www.facebook.com/pages/Dragonflies-and-Thistles/491393717621010

And here on the blog at -

http://www.dragonfliesandthistles.blogspot.com/

Tuesday, September 2, 2014

Fall 'pin'spiration 2014

 Fall is finally upon us.  I am very happy. 
Fall is my favorite season, the air is crisp and clean smelling.  The leaves are changing and for me, all is right with the world! 
I love the colors of fall, those jewel tone trees and plants look like they've come out of the jewelry box of an Arabian Princess or something.  I take the fall as an opportunity to make my home cozy in many ways.  I burn more candles in the fall, I have more pillows around and throws that invite you to snuggle on the couch or curl up in a chair.  In the summer I try to make my house light and airy whereas in the fall I try to envelope my home in scent and warmth. 

Here is a bit of my house inside and out last year...
http://www.dragonfliesandthistles.blogspot.com/2013/09/fall-decor-part-1.html

This year, if you've been following me on Pintrest - http://www.pinterest.com/vicdenniso/
you know that I've been going a bit crazy with fall pinning!
I currently, as of this typing, have 348 pins in my 'I love fall' Pintrest folder!
http://www.pinterest.com/vicdenniso/i-love-fall/

I really like Pintrest.  When you place things in your folders you should start to see a pattern of what you like emerge.  I see patterns in my own 'I love fall' folder.  So I'm taking those patterns, because obviously I like them, and seeing what will inspire me this fall season. 

Here are some of my inspirations.

Let's look at some of the patterns that I've noticed in my board.

Front door :
The pattern I see is neutral colors.


 I also have pinned quite a few pumpkins in urns.


 Then there is the mantle.  Lanterns and hurricane's dominate here.


I don't know exactly what I'll come up with for my fall decorating but I have a lot of inspiration on my board to go off!  I hope to get my decorating done this weekend.
Have you decorated yet for fall?  I'd love to hear your ideas. 
 
Thanks for stopping by!  I'll be posting only once this week.  Next week I'll be back to my Tuesday/Thursday posting.  I'll be sharing not only my fall home tour but a tasty fall snack and more fall crafts for you to try. 
I appreciate your support. 
Have a safe week.
Victoria
Remember you can follow me on Pintrest -
 
On Facebook -
 
And directly here!

Tuesday, August 26, 2014

Late summer garden tour

Although the calendar says August, in my garden it is just July. 

Here in Colorado the growing season at my elevation is shorter.  Spring can come as late as June and summer may only last a month or two.  My plants need to be hearty and they need to be fast bloomers. 

Let's take a tour of my garden in the last week of August, but first let me show you where we started.

Back in June this is what the garden looked like.


Just some purple Salvia, Bachelors Buttons, some Pansies and a few leftover bulbs.  The garden was just taking shape and waiting for sunny days, cool nights and rain.  Well we get lots of all of those things here in Colorado. 
 
Lets see how the garden looks now.  Let's start with one of my favorite garden flowers, the Dahlia.  They are bulbs that I planted this past April.  I love bulbs, you plant them, water them and they grow over and over.
Dahlia's are large flowers that are very brightly colored.


Aren't they beautiful! 
I also like to plant things that are self seeders.  Now these are plants that are sold as annuals - meaning they only bloom once and they are done, but self seeders, though an annual will grow again and again if you harvest and spread the seeds around your garden.  An easy self seeder to start with are Marigolds.  These little plants are not only a great pop of color but they replenish themselves season after season.  But be careful, one flower will produce about 20 seeds and they can take over your garden if you aren't careful.

As the buds dry up the seeds appear.  I will snip the dried buds and save them in plastic bags, spreading the seeds around to different placed in the garden, then covering them with some dirt for the winter.  In the spring I will water the ground and they magically come back! 

Another self seeder is the Cosmos.  At least that is what I call them.  They come in a variety of colors.  These long stemmed delicate flowers bloom once but will drop their seeds and regenerate themselves for next year.  I have them in several colors including dark pink, white and light pink.


I also like Bachelors Buttons.  They tend to grow in groups or cluster together.  These also self seed and will come up again and again if you are careful with the seeds.  I have them in blue, white and pink.
 
Another great flower that can be a self seeder but needs more care is the Pansy.  I love how they look like little faces... reminds me of the flowers in Alice in Wonderland.
Here in Colorado they will bloom all summer if taken care of correctly. 
Another great seed flower to get is a sunflower.  These large and bright flowers will come back year after year with little or no intervention from you.  HOWEVER, you need to plant the seed deeply.  These plants are tall growers and have heavy heads or blooms and if not planted deep will fall over if not given some sort of support.  I have several varieties, here are two. 


I also plant some perennials, these are like the bulbs that come back year after year if properly taken care of.  I have the purple Salvia.

 
I have a pink one in my front yard garden.  In the above photo you can also see the silver green leaves of my Queen Anne's Lace plant, another perennial plant.  This plant needs a bit of room to grow.  Mine has blooms that start out as yellow then turn white before they die off. I will cut the blooms as they die otherwise I think the plant gets a bit messy looking. 
I have also planted Honeysuckle and Clematis, both of these are vine plants, in other words they climb and I've got a black arch there for them to climb on. 
 
That is it!  My garden isn't large by any means but I just love puttering around in the flowers and going out every day to see what is blooming or going to bloom. 
Soon the garden will turn to fall and the flowers will begin to dry up and I'll be harvesting seeds like crazy.  For the fall I do have several Mums that should bloom again.  I can see them coming up out of the ground already.  Because we have a short growing season but are so sunny during the day my Mums bloom really late, usually October just when all the other flowers are done. 
 
This garden didn't happen overnight, I've worked on it for at lest 3 years.  I've moved plants around, dug things up and changed things.  I really want it to look like a wild meadow, full of different flowers at different times.  I think I'm close to achieving this. 
 
For a long view, this was the spring. BTW that large bush is a purple Lilac. 


And this is the summer.

 
Thanks for stopping by!  If you have any questions about my garden I am happy to answer them. 
I won't be posting next week but I'll be on a bit of vacation with some out of town family coming to visit.  It should be exciting!  I always take my husbands Aunt on a adventure that ends up being crazy but so much fun.  Last year we went to Crested Butte Colorado and traveled over Kebler Pass to look at the Aspen changing.  The year before we traveled to Ouray Colorado and took a 4-wheel drive path to Yankee Boy Basin.  I think I'll tone it down this year and maybe we'll do a Segway tour of Peak 13 in Breckenridge Colorado! 
I'll be back the following week though and will start posting on Tuesday and Thursday.  I've got some Fall inspirations to talk about - for a sneak peak take a look at my Pintrest board - 'I love fall'.  I'll also have some cheap and as always, EASY fall crafts to do.  I'll be decorating inside and out for my favorite season and taking you on a fall home tour. 
Have a safe and happy Labor Day weekend... Labor Day already, where did the summer and the year go? 
Until then be safe!
Victoria
 
As always, you can follow me on Pintrest at -
 
And Facebook, though I am not as active here right now.  That will change starting next month -